
Last weekend, we started brewing. Not ideas (though we have a ton of those), but beer. As this is a first for me, I decided to document the process so I can learn from the likely many mistakes we’ll very definitely be making. And learning some beer science along the way. There are worse things.
Step 1: The Prep
I cheated a little bit here… My brewing partner-in-crime had done most of the preparation beforehand – like buying the grains and all the kit for home-brewing. We biked out to a home brew shop to get the grain milled and buy the last bits of supply, most notably the yeast.

With our newly ground grain (apparently this is called grist and it smelled deliciously sweet), we biked back home and started cleaning everything. Beer is a product of fermentation: yeasts break down the sugars in the grain and turn them into alcohol. To get a good tasting beer, you want to make sure that only the beer-making-yeast is doing the fermenting and that all other types of yeast and bacteria are far, far away from your beer.
Hence, we cleaned and sanitized all the equipment. Thoroughly. And then again.
Step 2: Making the mash
Did you know that beer is basically just fermented grain-tea? Not that different from Kombucha tea actually – just not associated with a current health craze. The first step to making beer is soaking the grist in hot water to extract all the sugars that will be later fermented. This is called mashing.
We set up the boiling pot outside, ready for curious onlookers to wonder what we were cooking up.
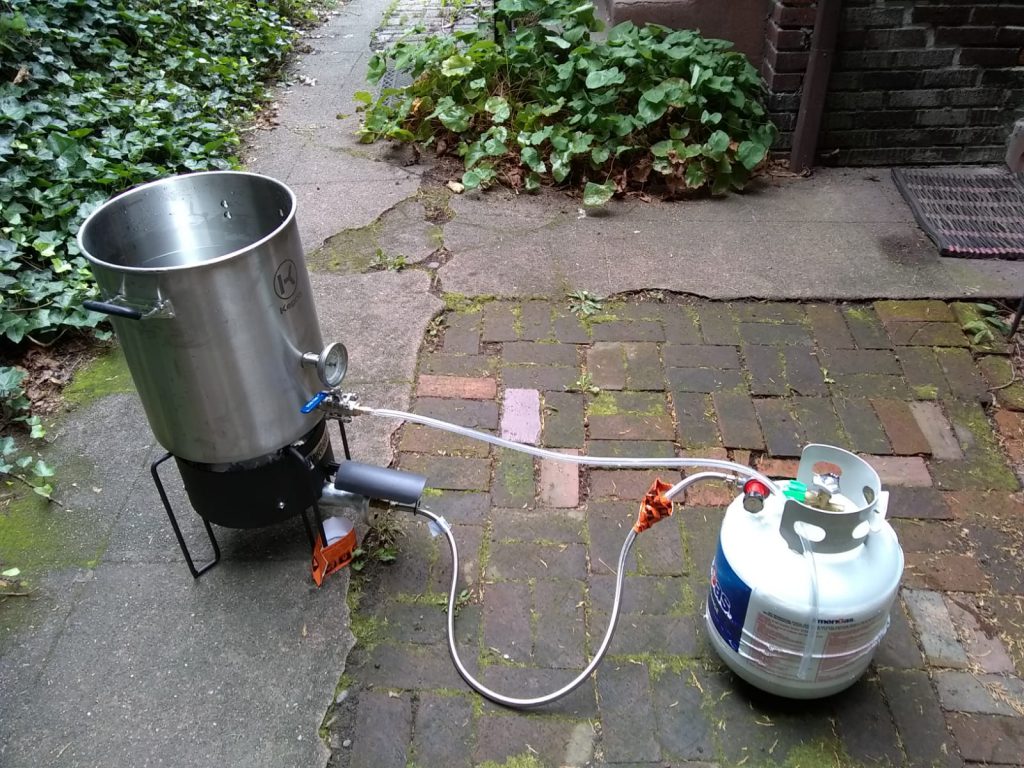
We filled the pot with about 30 L (7.3 gal) of water and heated it up to ~ 75°C (~ 170F). We didn’t want the water to boil, like with green tea, if the water is too hot you get a lot of bitter tastes and we want all the sweet sugars to seep out. In this pot, we then dunked a giant teabag filled with the grist (~ 4 kg/ 9.25 lb of the stuff).
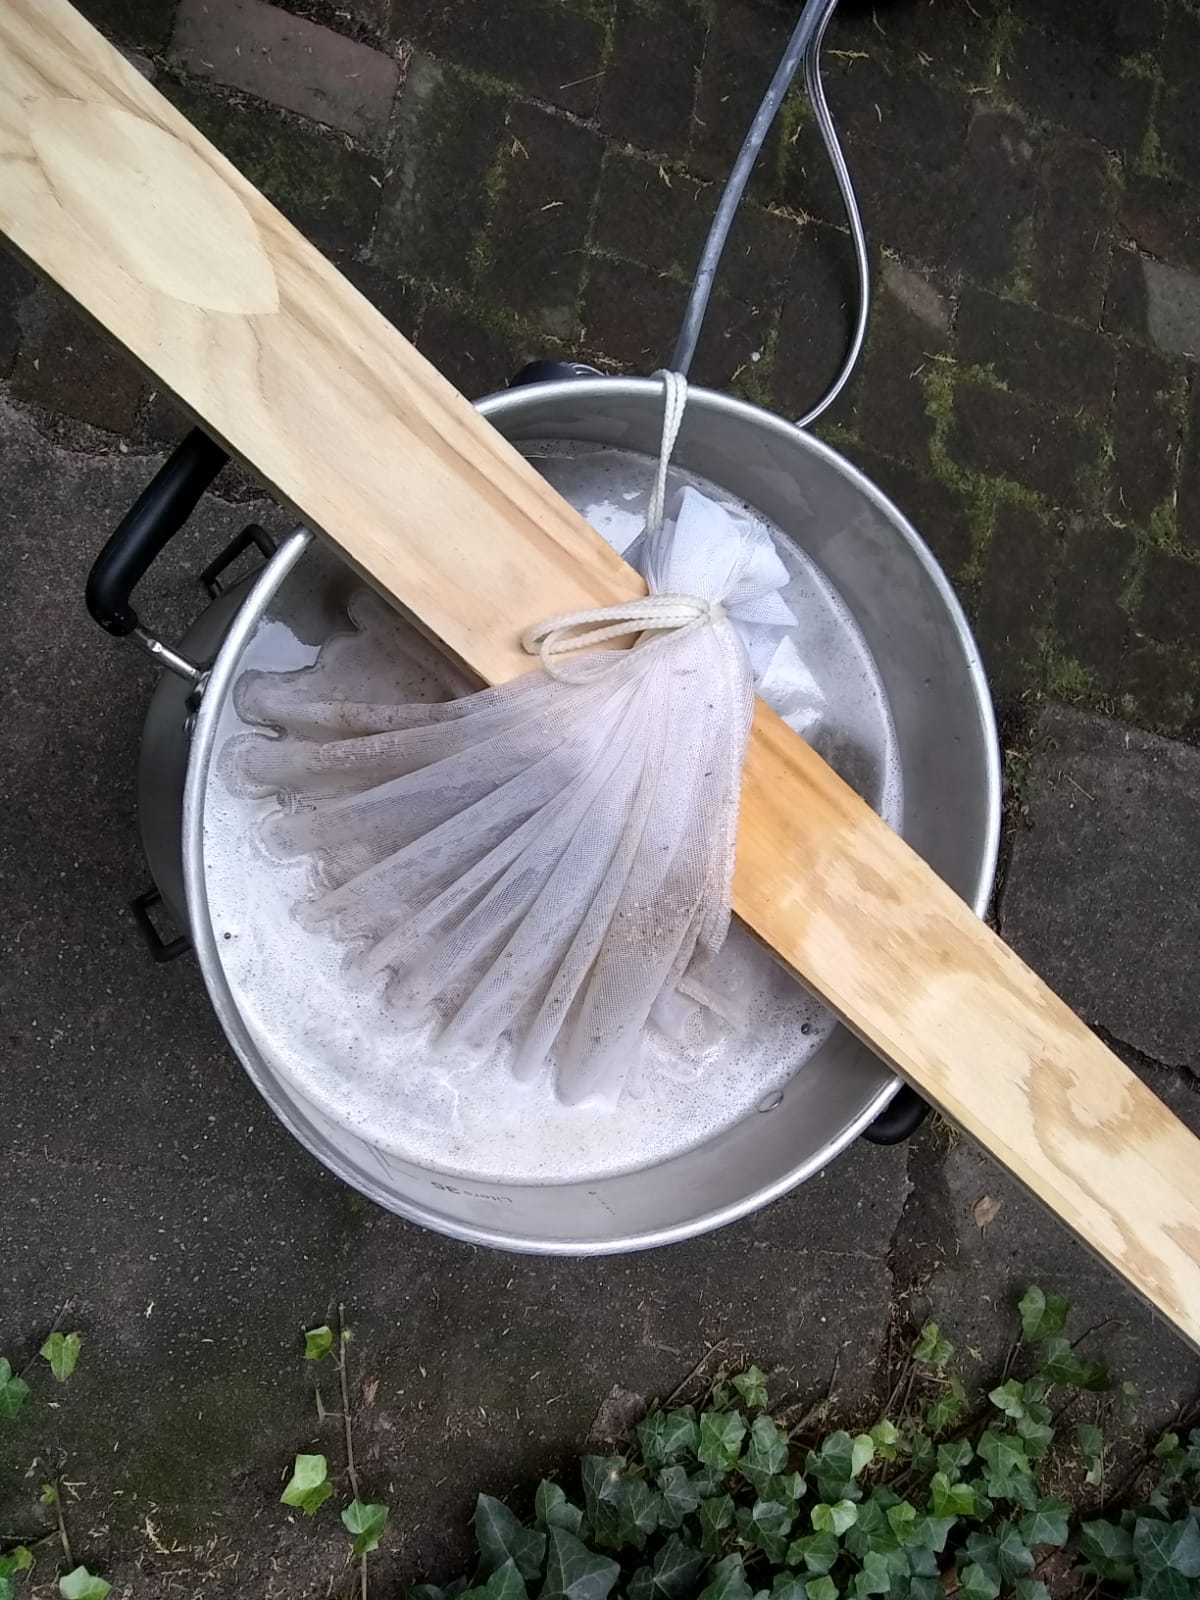
After an hour, our tea was ready. A little taste confirmed that we had made grain tea – more correctly known as wort. A little squeeze of the bag, and out it went. We added a little bit of brown sugar (170 g / 0.375 lb), just to make sure there’d be enough sweet stuff for the yeast to eat. [I initially wrote “yeat to yeat”. Help.]
We then measured the specific gravity of the wort. This would give us an indication of how much sugar (more sugar = higher specific gravity) we were starting out with, important to figure out how alcoholic the end result will be.
We were ready for the next step.
Step 3: Hopping the wort
On paper, beer is quite simple. You have water, grain, yeast, and hops. Mix them together in the right way, and you get beer!
The next step in our process was adding the hops – without a bit of a hoppy flavor, no beer! We heated up our water to a boil (> 100°C / 212 F) reused the tea-bag-thing, filled it with our first type of hop (12.5 g / 0.44 oz of Northern Brewer). After 45 minutes of simmering, we added the second type of hop (28 g or 1 oz of Fuggles – who names these things?) and Whirlfloc, which is a tablet containing Irish Moss and Kappa Carrageenan and makes sure your beer doesn’t get too hazy.

15 minutes more of boiling and we removed the bag, and got ready for cooling. A quick taste of the liquid proved that it already sort of tastes like beer. There’s some sweetness, some hoppiness, some bitterness but it’s also flat and lukewarm. British Ale much?
Step 4: Cooling
Yeast works best at a certain temperature. Too cold and the metabolism slows down, leading to less efficient sugar-to-alcohol conversion. Too hot and the yeast just sort of dies.
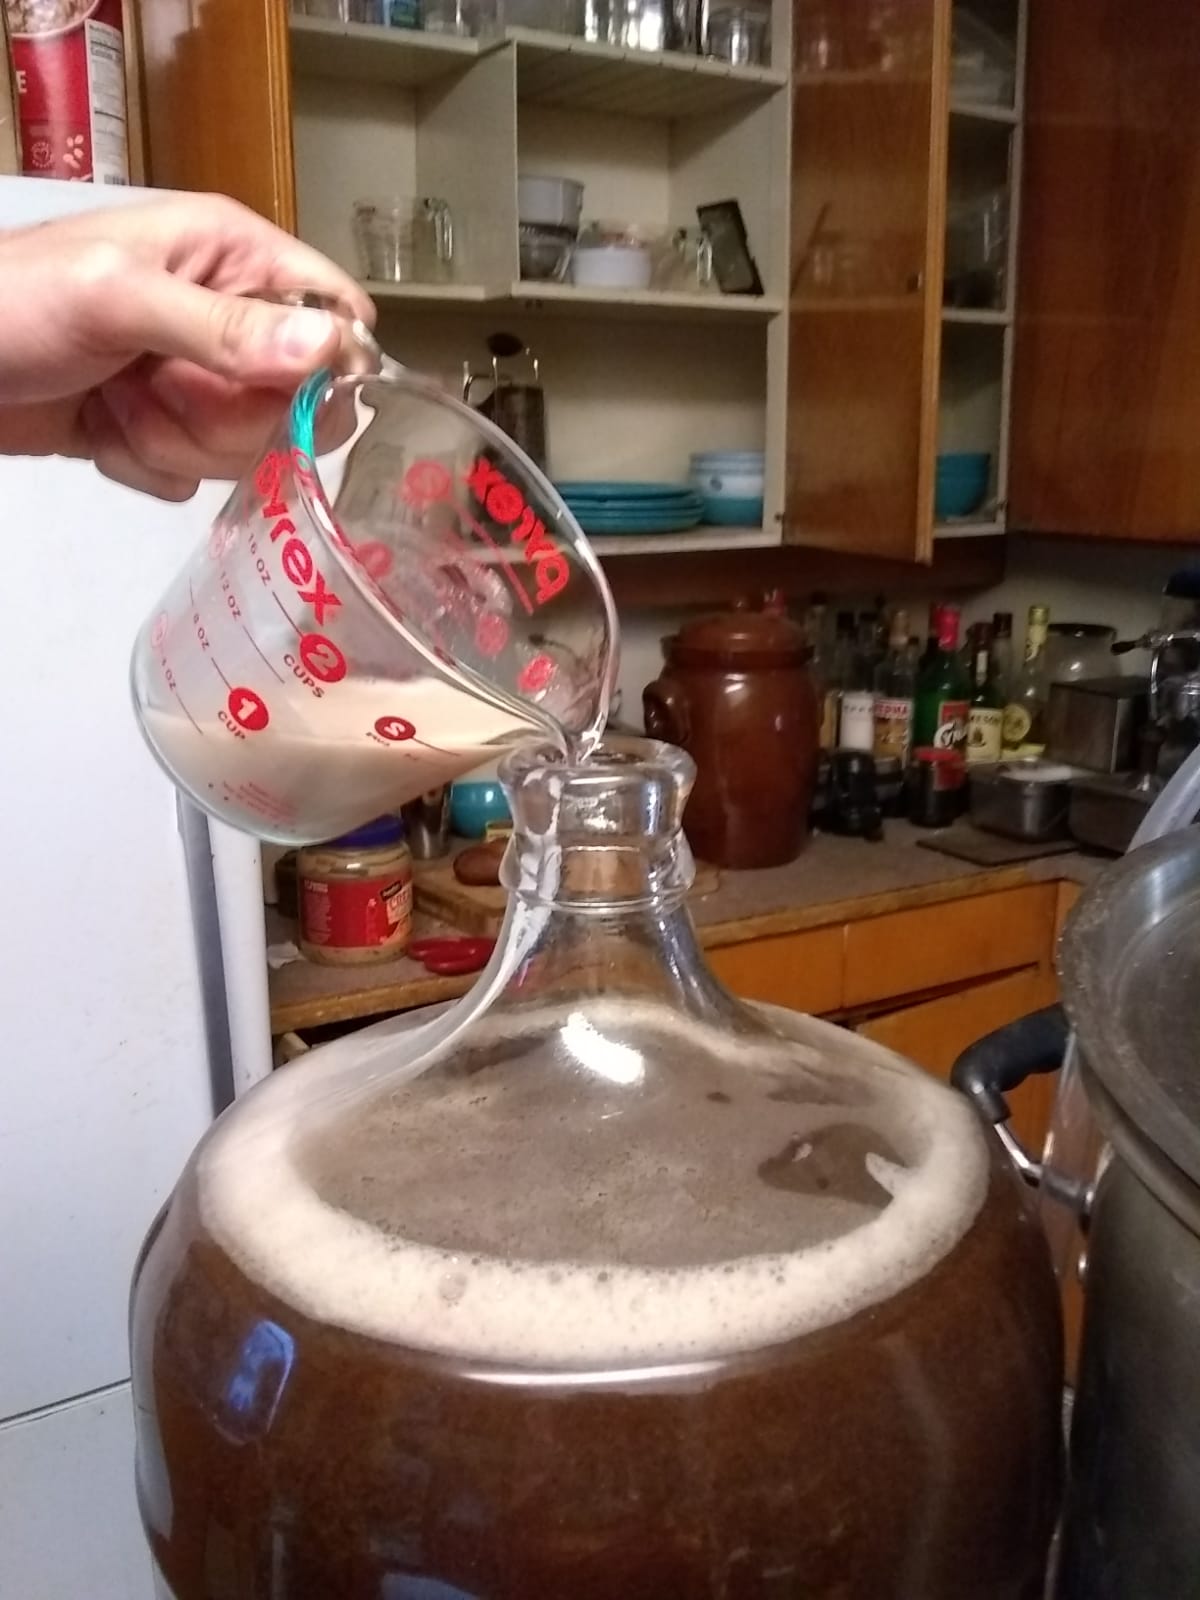
To cool the wort to a yeastly comfortable temperature of 25°C (or 77F), we put an immersion chiller into the pot. An immersion chiller is a coil of copper tubes, through which we ran cold water. It took a while (and I was making bagels in the meantime, to be honest, because brewing is a lot of waiting), but we made it. We then transferred the now cool wort – which needs to have as little contact with air as possible because like the good yeast, the bad stuff also really likes this temperature – to the fermentation container. I can tell you that it already smelled like a brewery in the kitchen – which totally makes sense because we were doing just that: brewing.

Step 5: Adding the yeast
We had already prepped the yeast by adding it to some lukewarm water, now it was ready to be added to the wort. Which we evidently did.
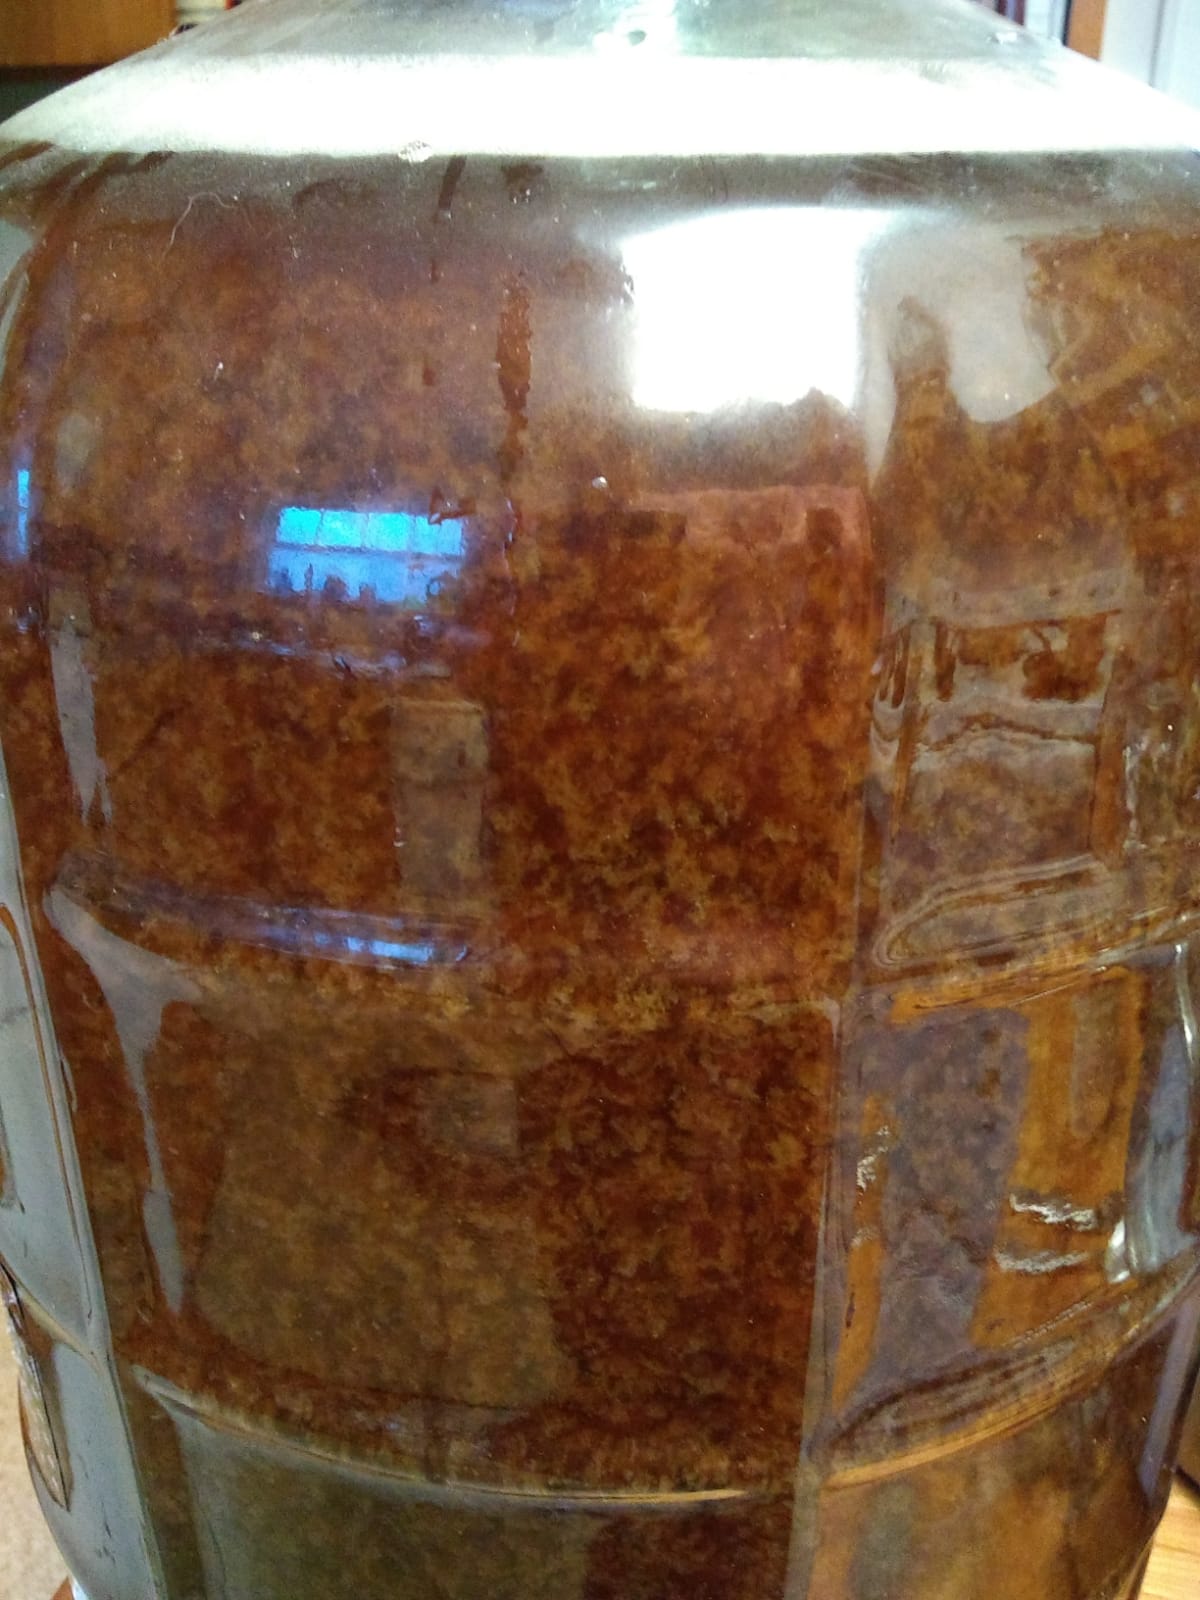
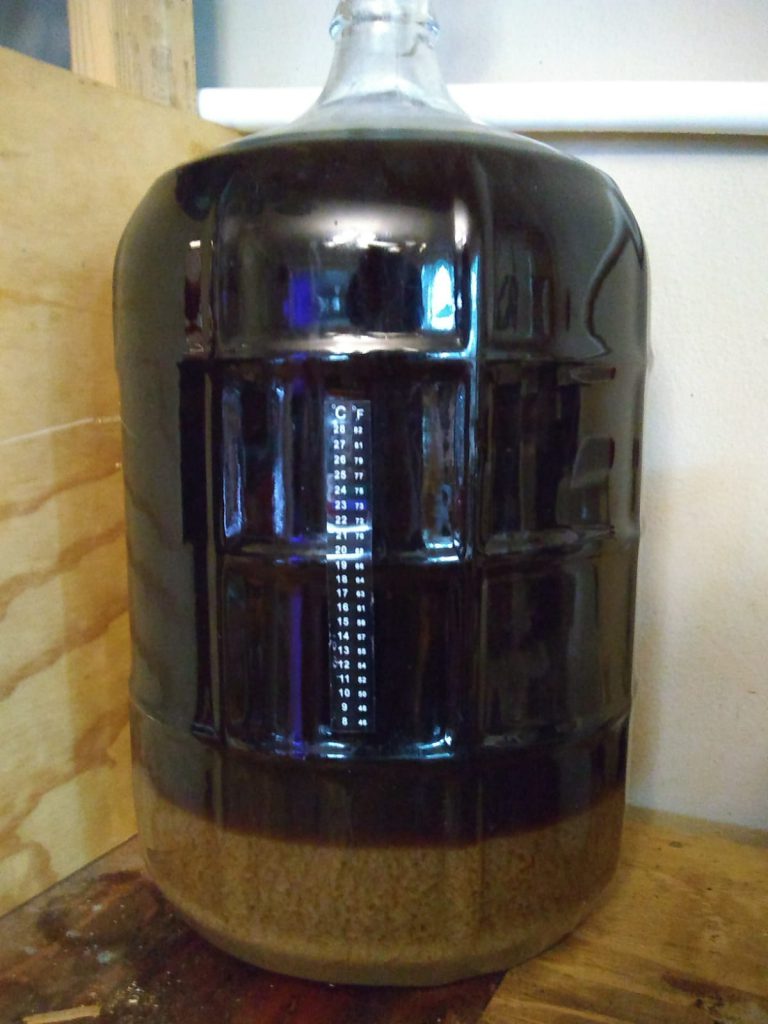
Step 6: Now we wait
We’re trying to keep the fermentation vessel at a constant temperature and keep any extra oxygen out. But other than that, there is nothing to do but wait. Updates will come soon, likely to tell you how it all went wrong. Maybe not.
Disclaimer: as with many things, I have no idea what I’m doing. This is not meant as an extensive guide to home brewing, but just as a general walk-through of my first attempt at brewing.
Our recipe: https://www.brewersfriend.com/homebrew/recipe/view/564492/northern-nh-brown
Recommended reading: How to Brew
I offer myself as a test study for part II 😛