I know, it’s been a while. 2021 has just been, I don’t know, an extension of 2020? However, despite a lot of things going on, we have managed to brew some final batches to close out the year. So here is a quick breakdown of batches 5 and 6, with some extra surprises along the way!
Wait, you brew beer at home?
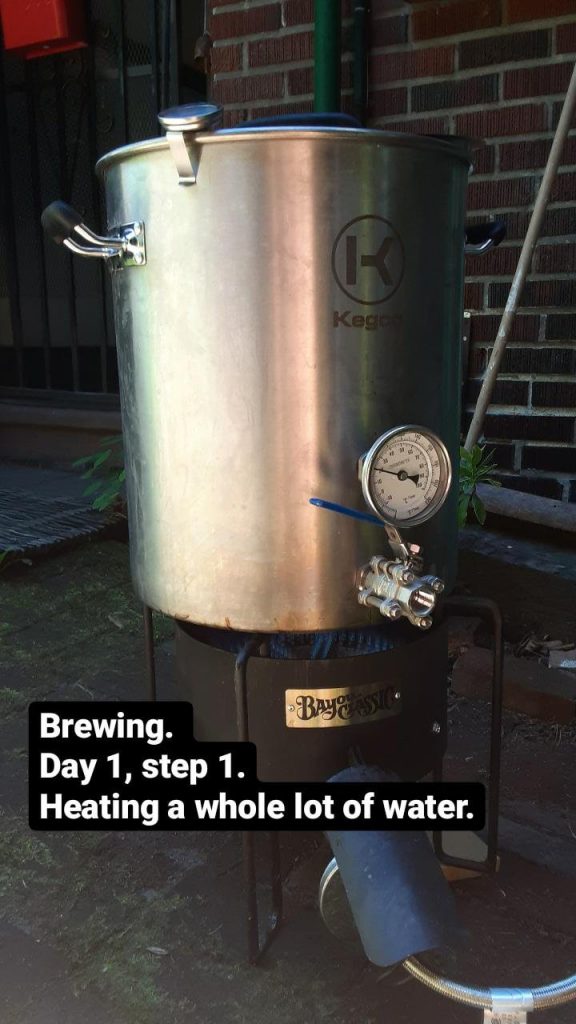
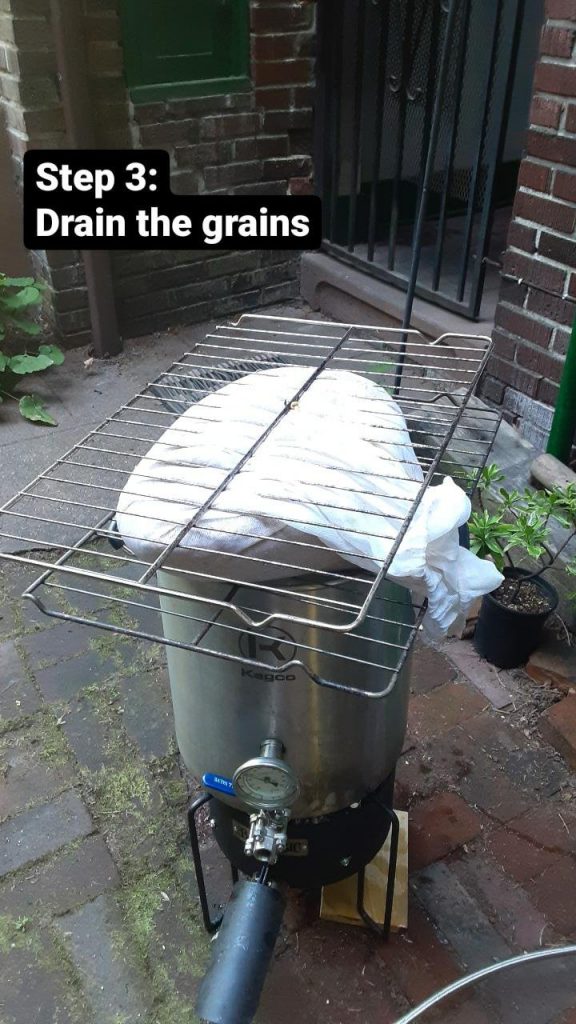
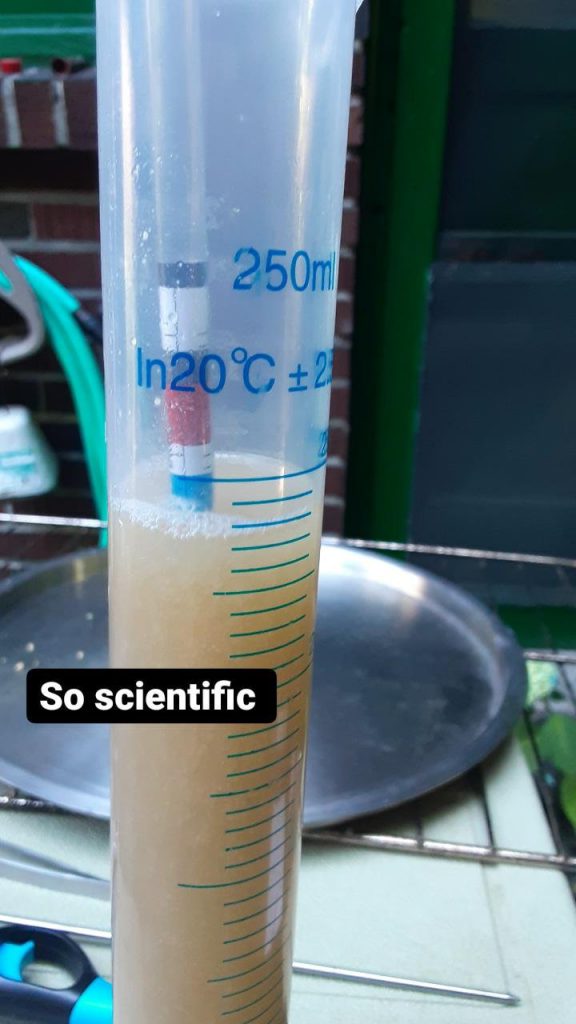
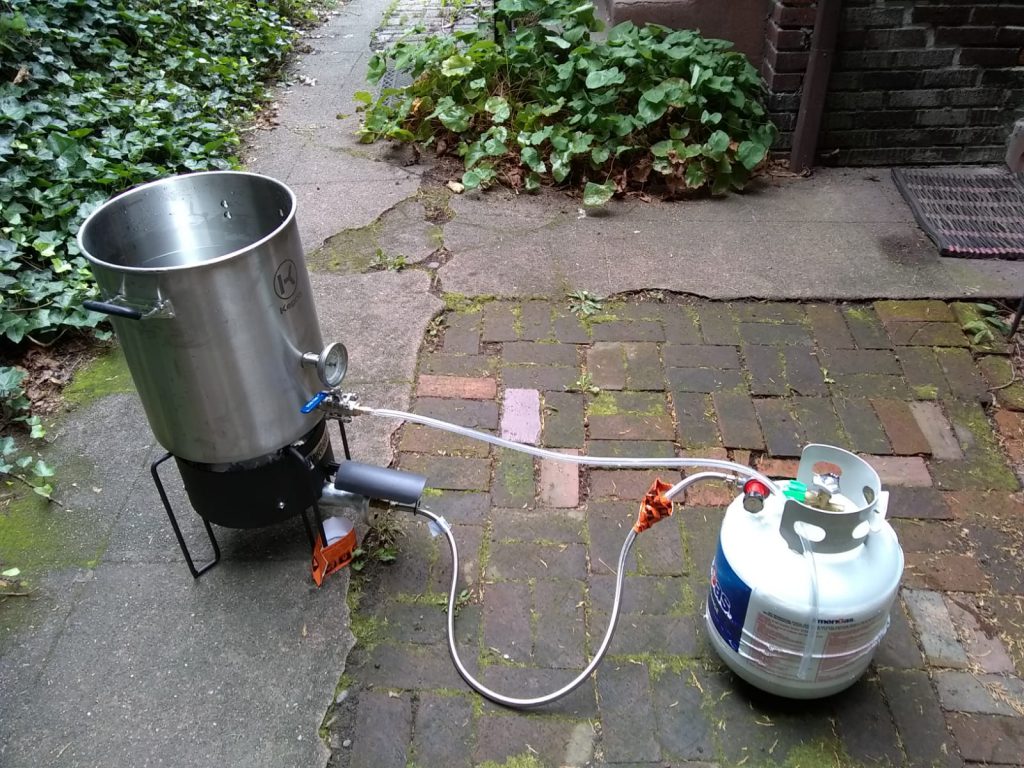
Oh, we sure do. You can find a walkthrough of our first batch (which explains all the steps of brewing) in my series of posts on “Brewing for Beginners:”
- Brewing for Beginners – Part 1 for the making of the wort
- Brewing for Beginners – Part 2 for an update on the fermentation
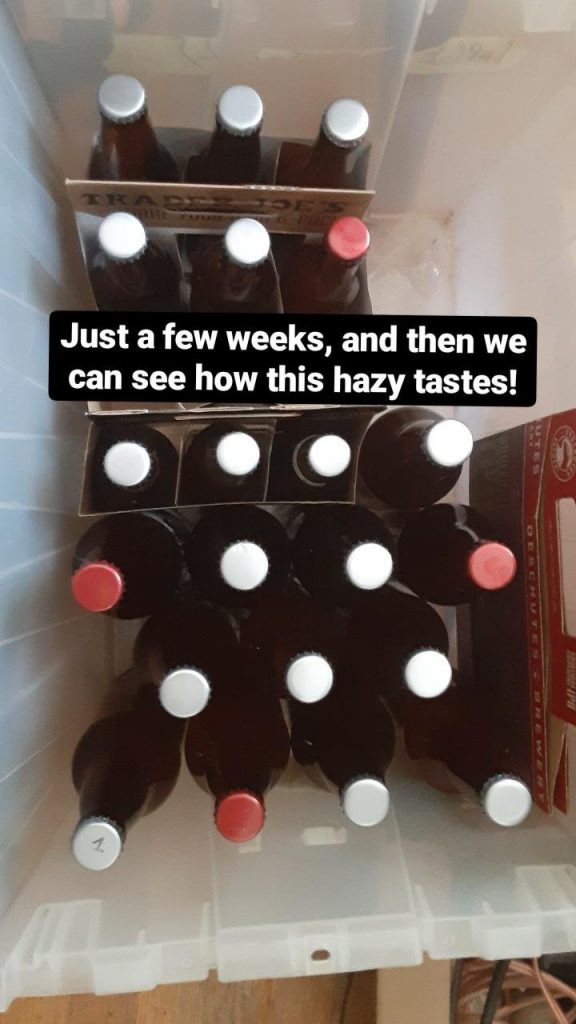
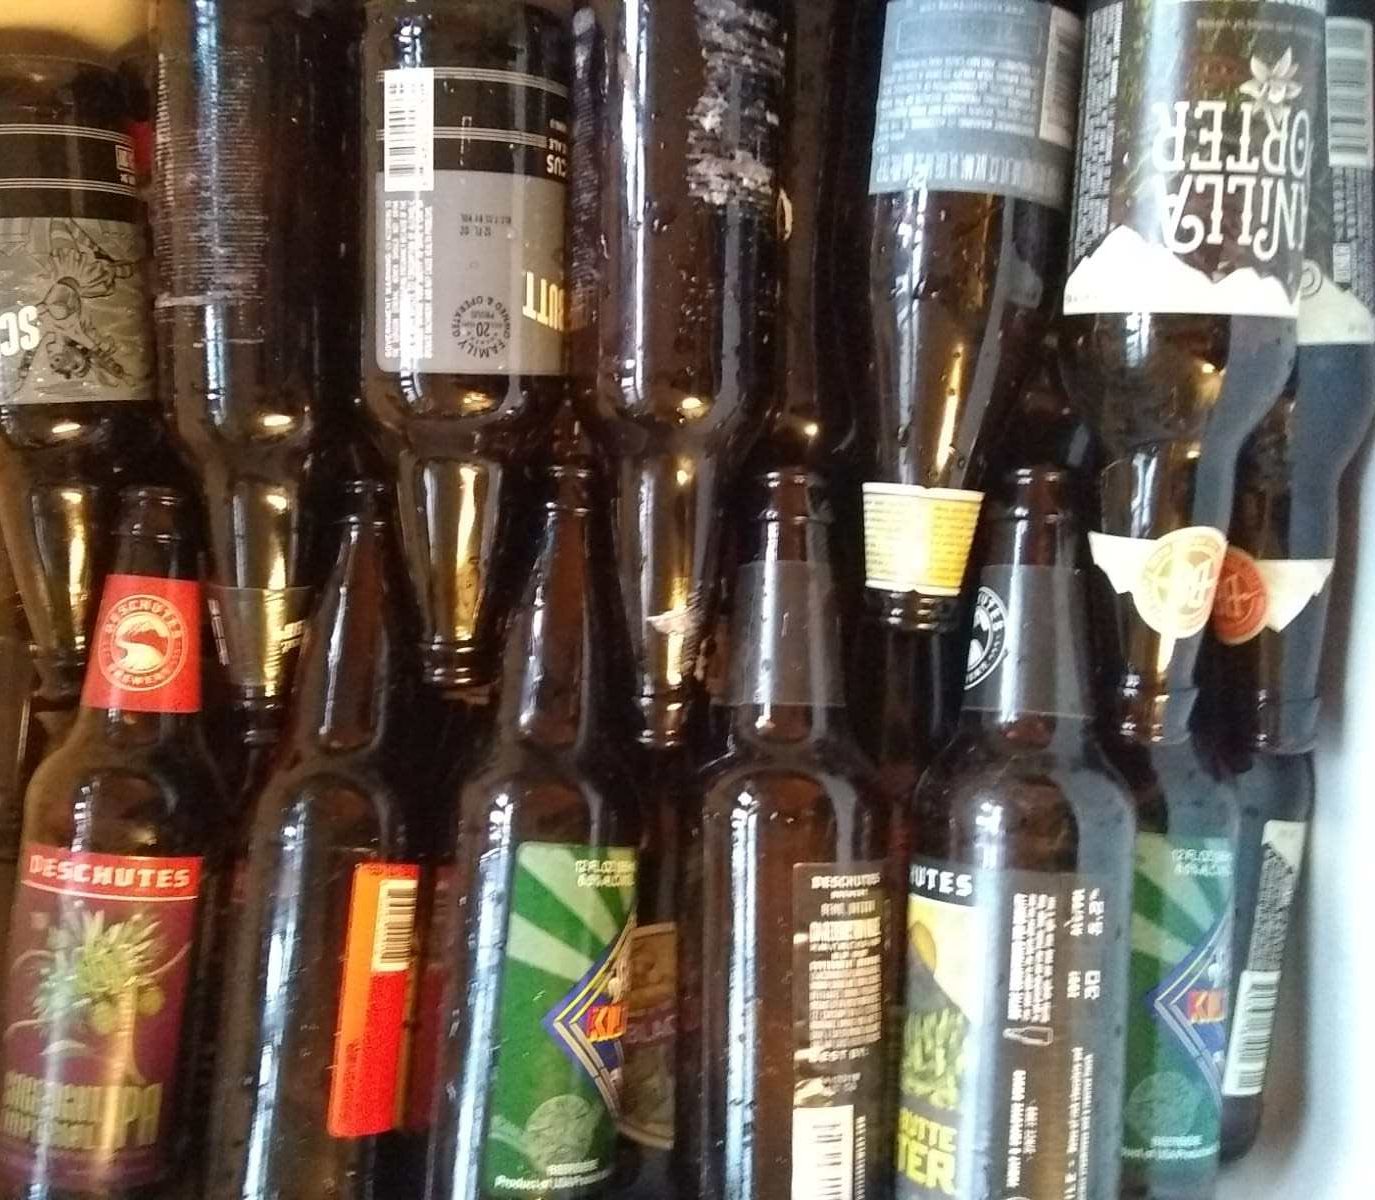
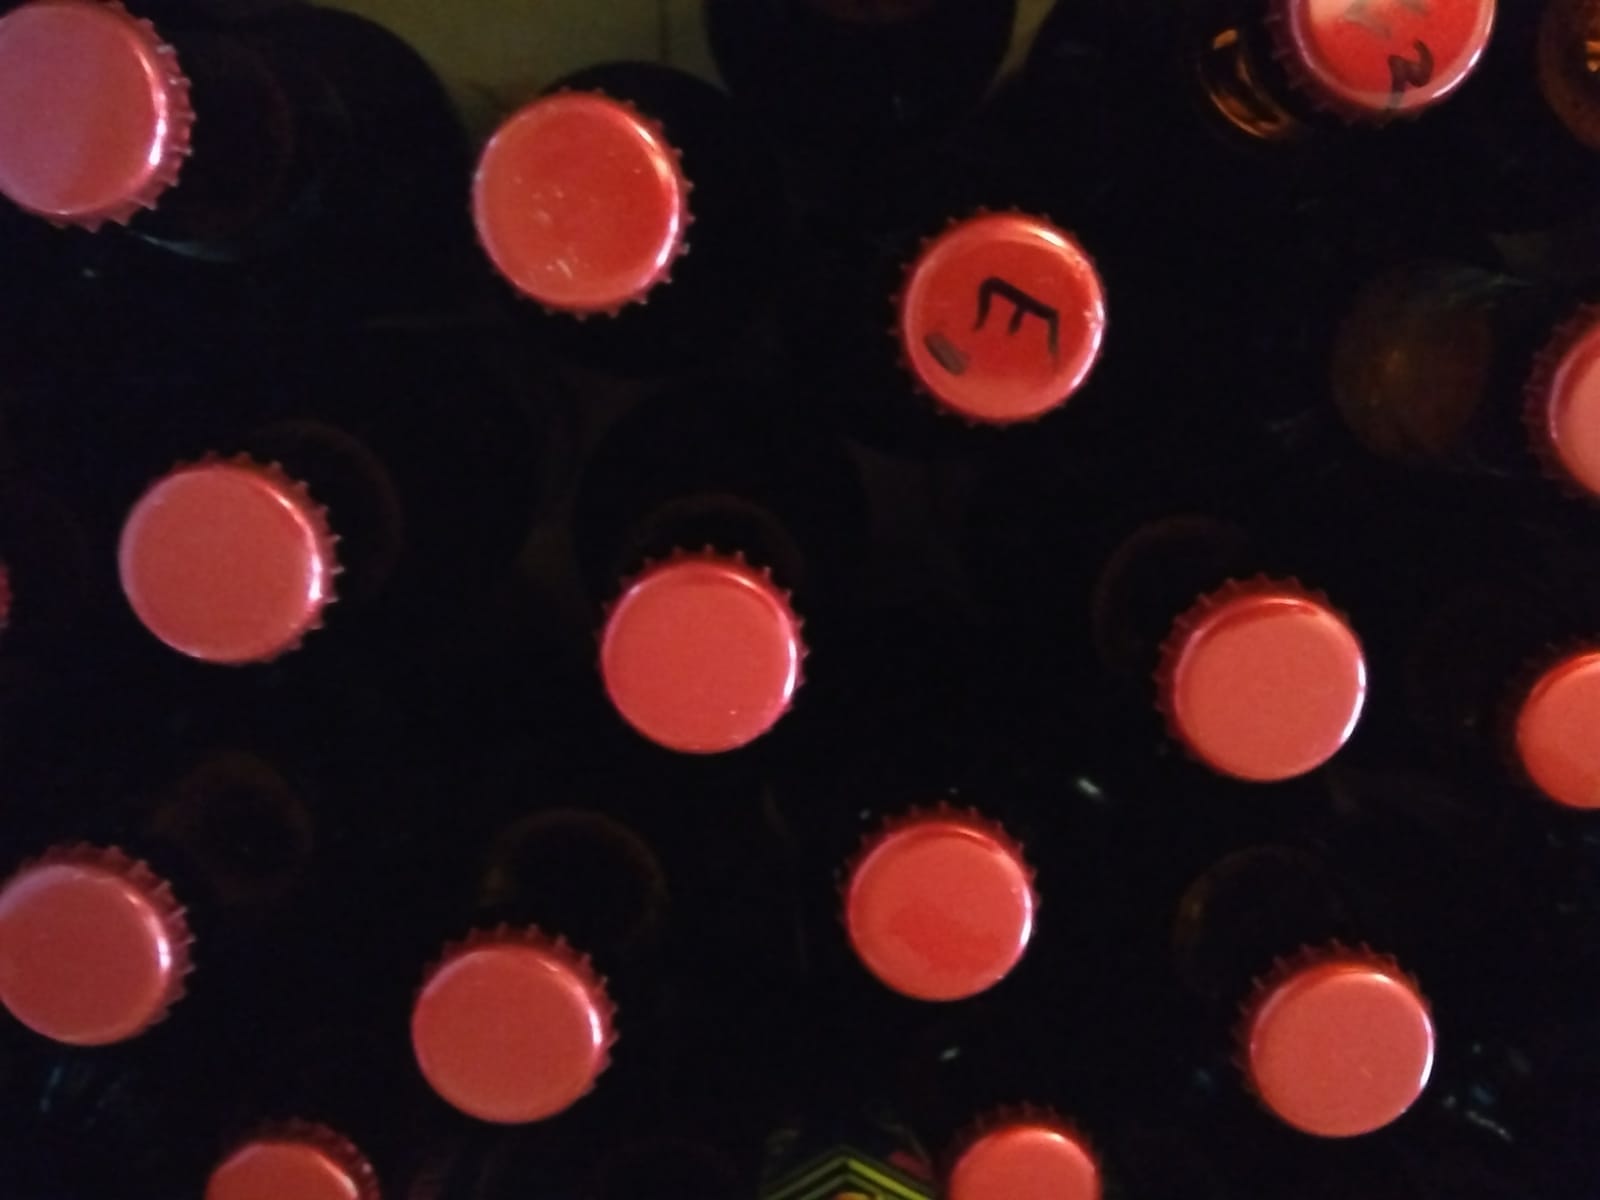
- Brewing for Beginners – Part 3 for the bottling process
- Brewing for Beginners – Part 4 for the best part of all: tasting!
I can hear you asking, how did batch 4 turn out?
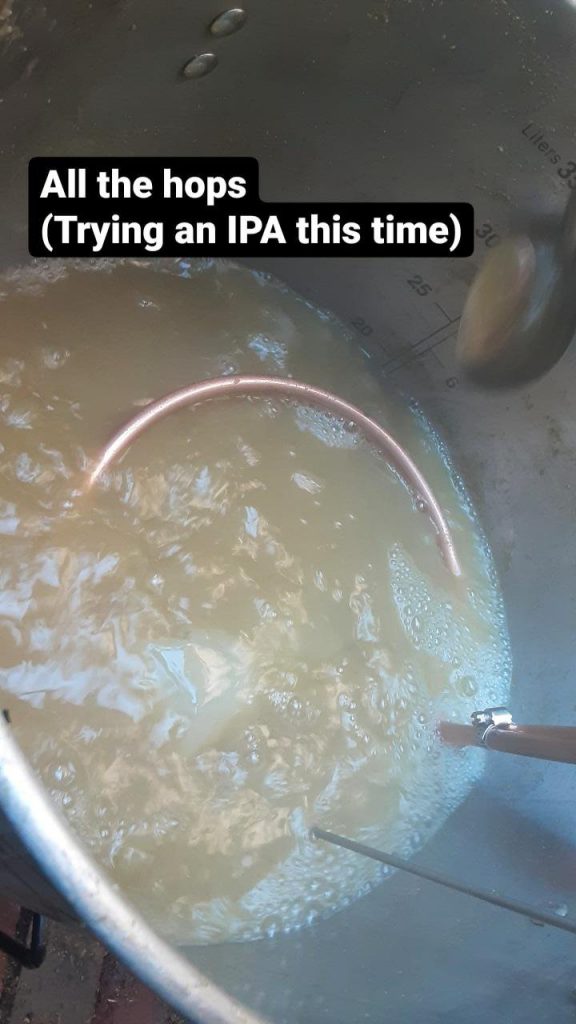
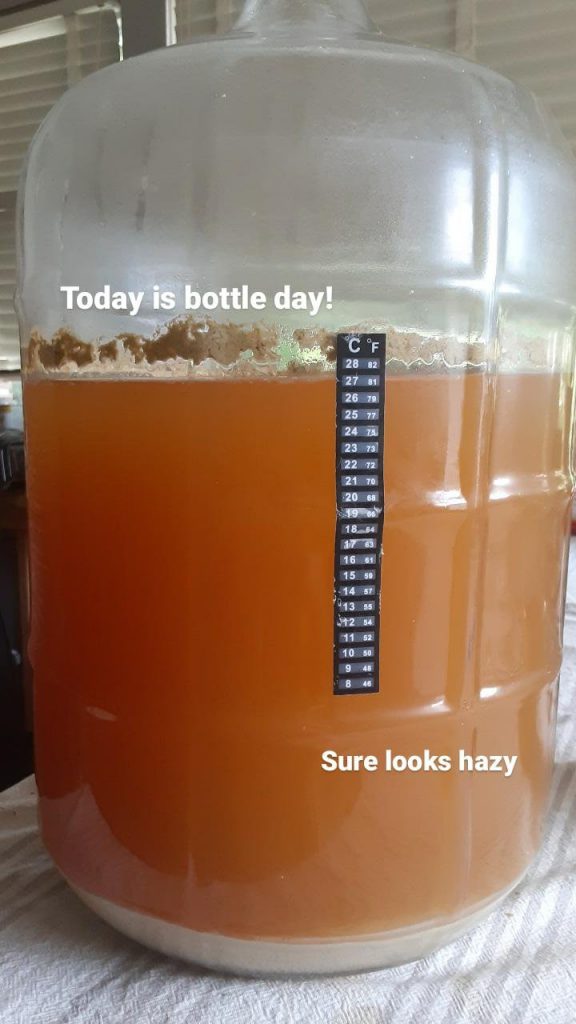
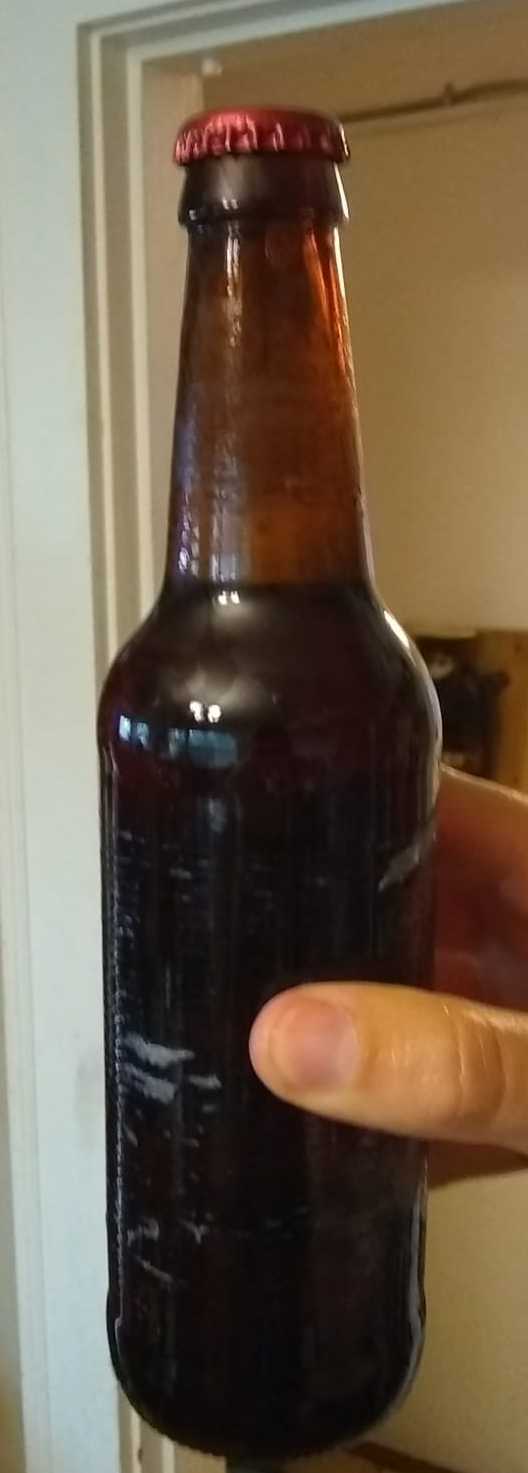
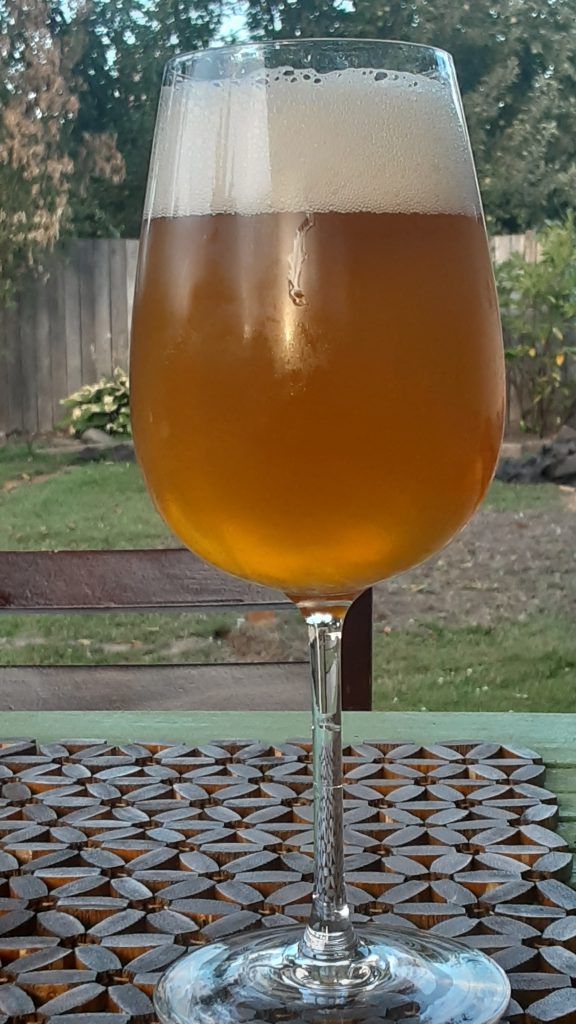
While usually not a huge fan of IPAs, mostly because of an abundance of supply (I may have written a song about that), our hazy juicy IPA turned out to be our best brew yet. Keeping a constant temperature during brewing (and a heatwave), definitely paid off! It’s almost as if more experience yields a better outcome, who knew?
It had a pretty great head on it, was easy to pour, and was beautifully refreshing on a hot summer day.
Little did we know, that this would be the last of our bottled beers, because A. decided to invest in… a Kegerator.
What is a kegerator and why I’m stoked we have one!
Instead of spending a day bottling beer, thanks to a chilled box in which we can put a keg and directly tap from – or: “a kegerator” – we can skip that very annoying step! In addition, it has some other really fun perks!
1. Instant Carbonation
As I said, no need for bottling, or adding extra sugar at that step for carbonation purposes. No, just hook it all up to a CO₂ tank and that will take care of carbonation. Oh, you like nitro? We can do that too!
For clarity, it’s not instant and takes a week or so before all nice and bubbly. But still beats bottling!
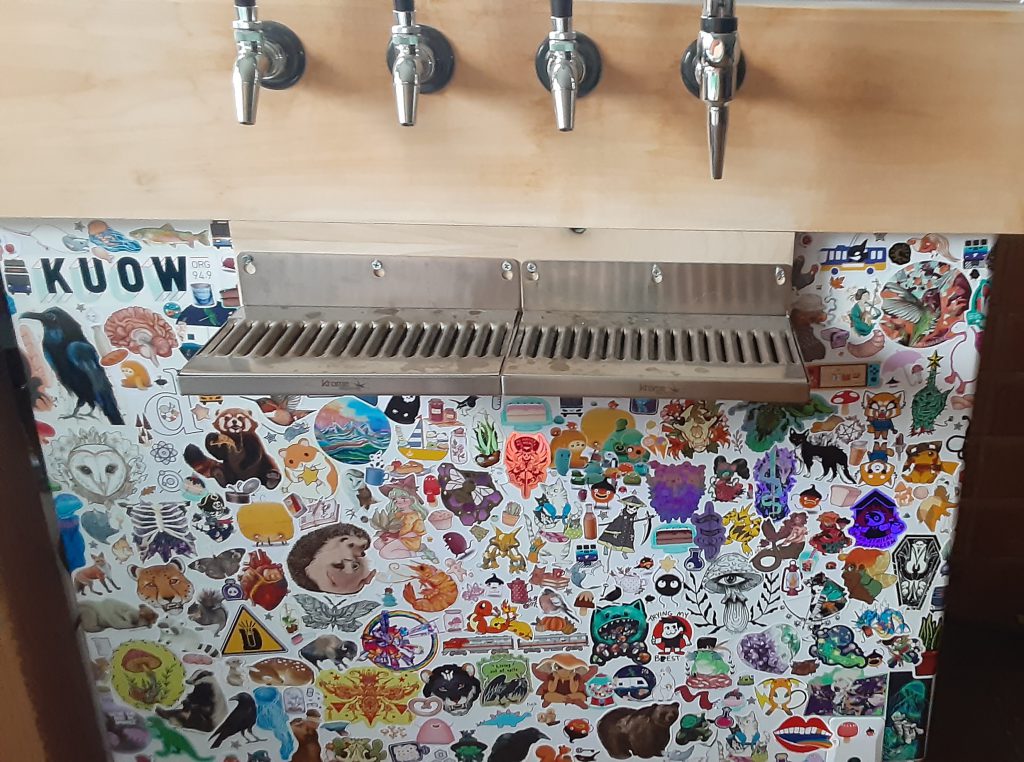
2. Stickers!
It provided a huge white space upon which stickers could be added! Well, there’s not that much space left now…
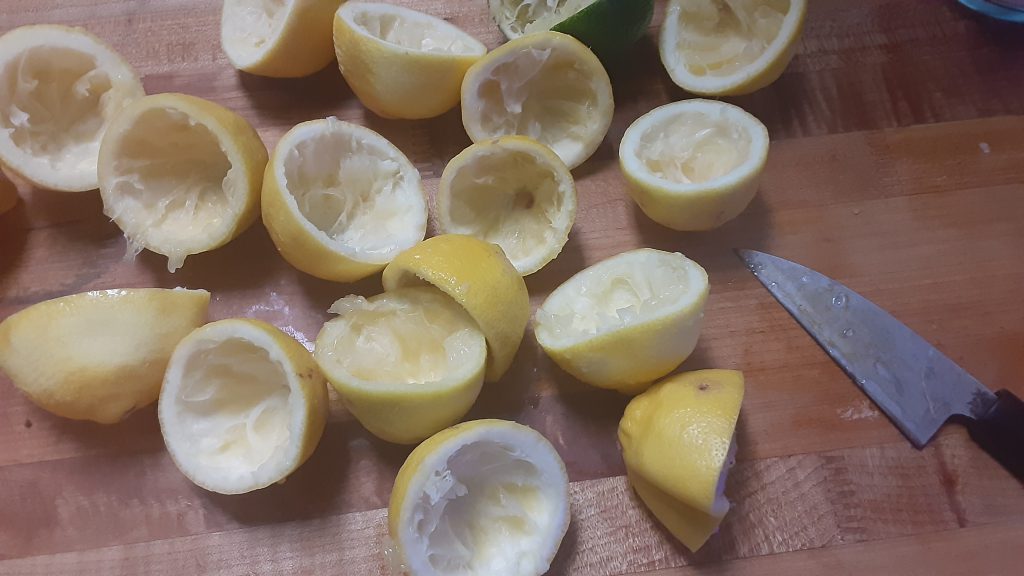
3. Life handed us some lemons
And you know what that means, make lemonade! Basically, anything can be carbonated this way, including ginger beer, lemonade, water, or water put into a keg that previously had lemonade so it tastes slightly lemony. No LaCroix in our home!
4. Tapping is just fun
Tapping is just a lot more fun than pouring out of a bottle if we’re honest.
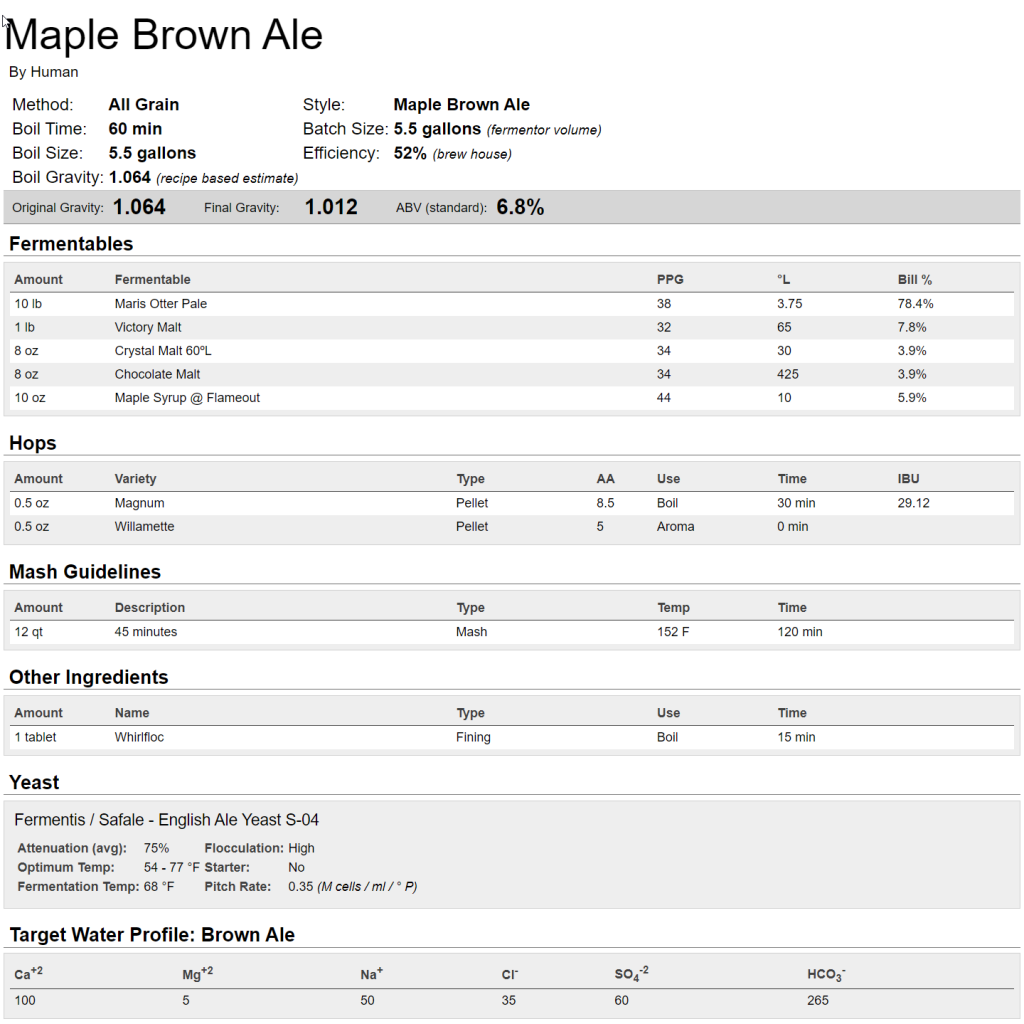
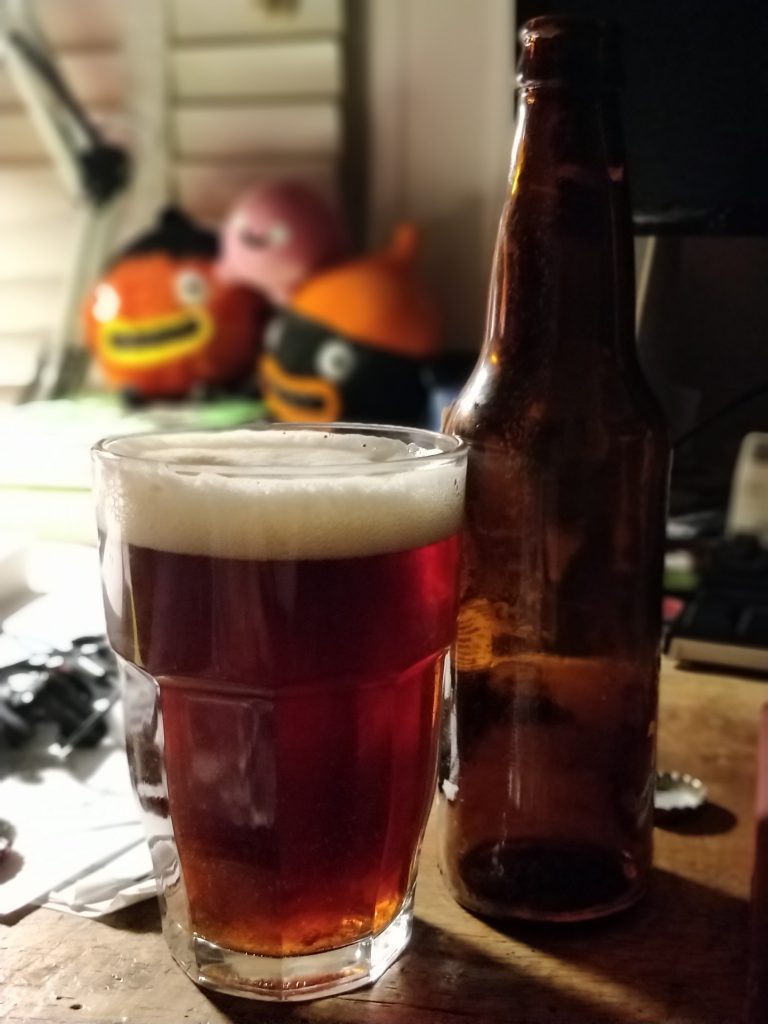
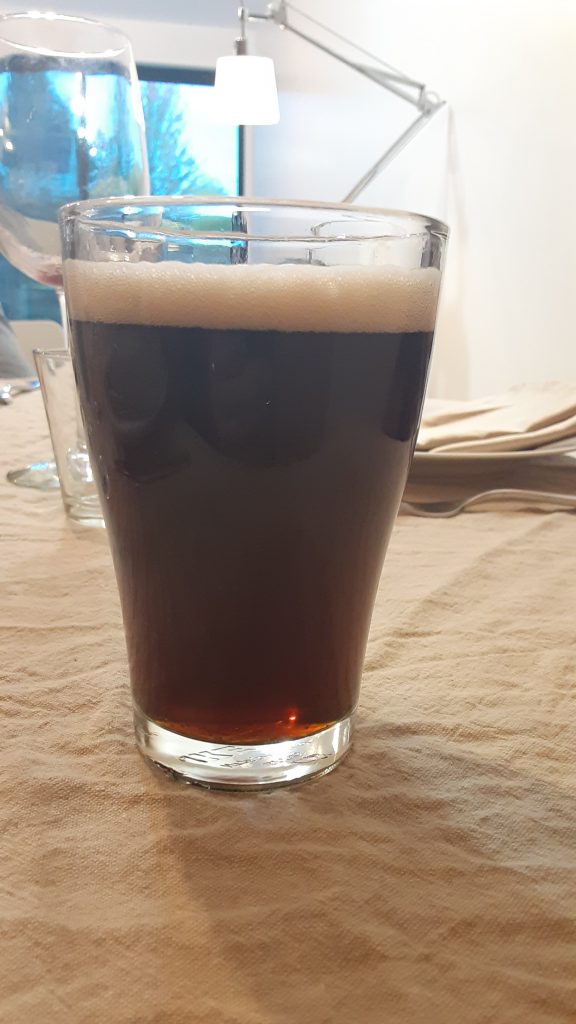
Batch #5: Maple Brown Ale
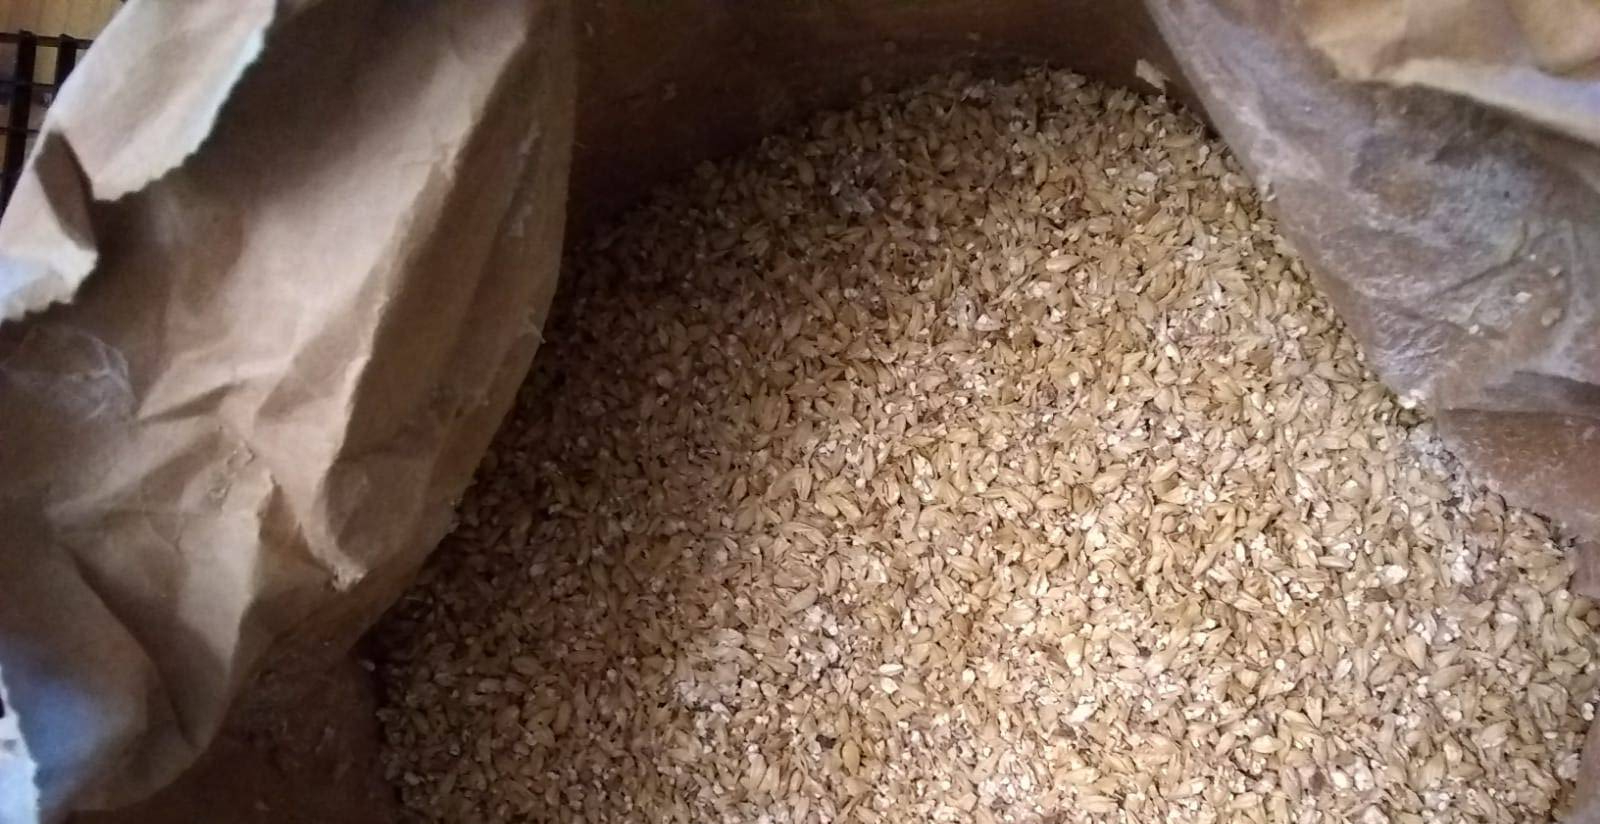
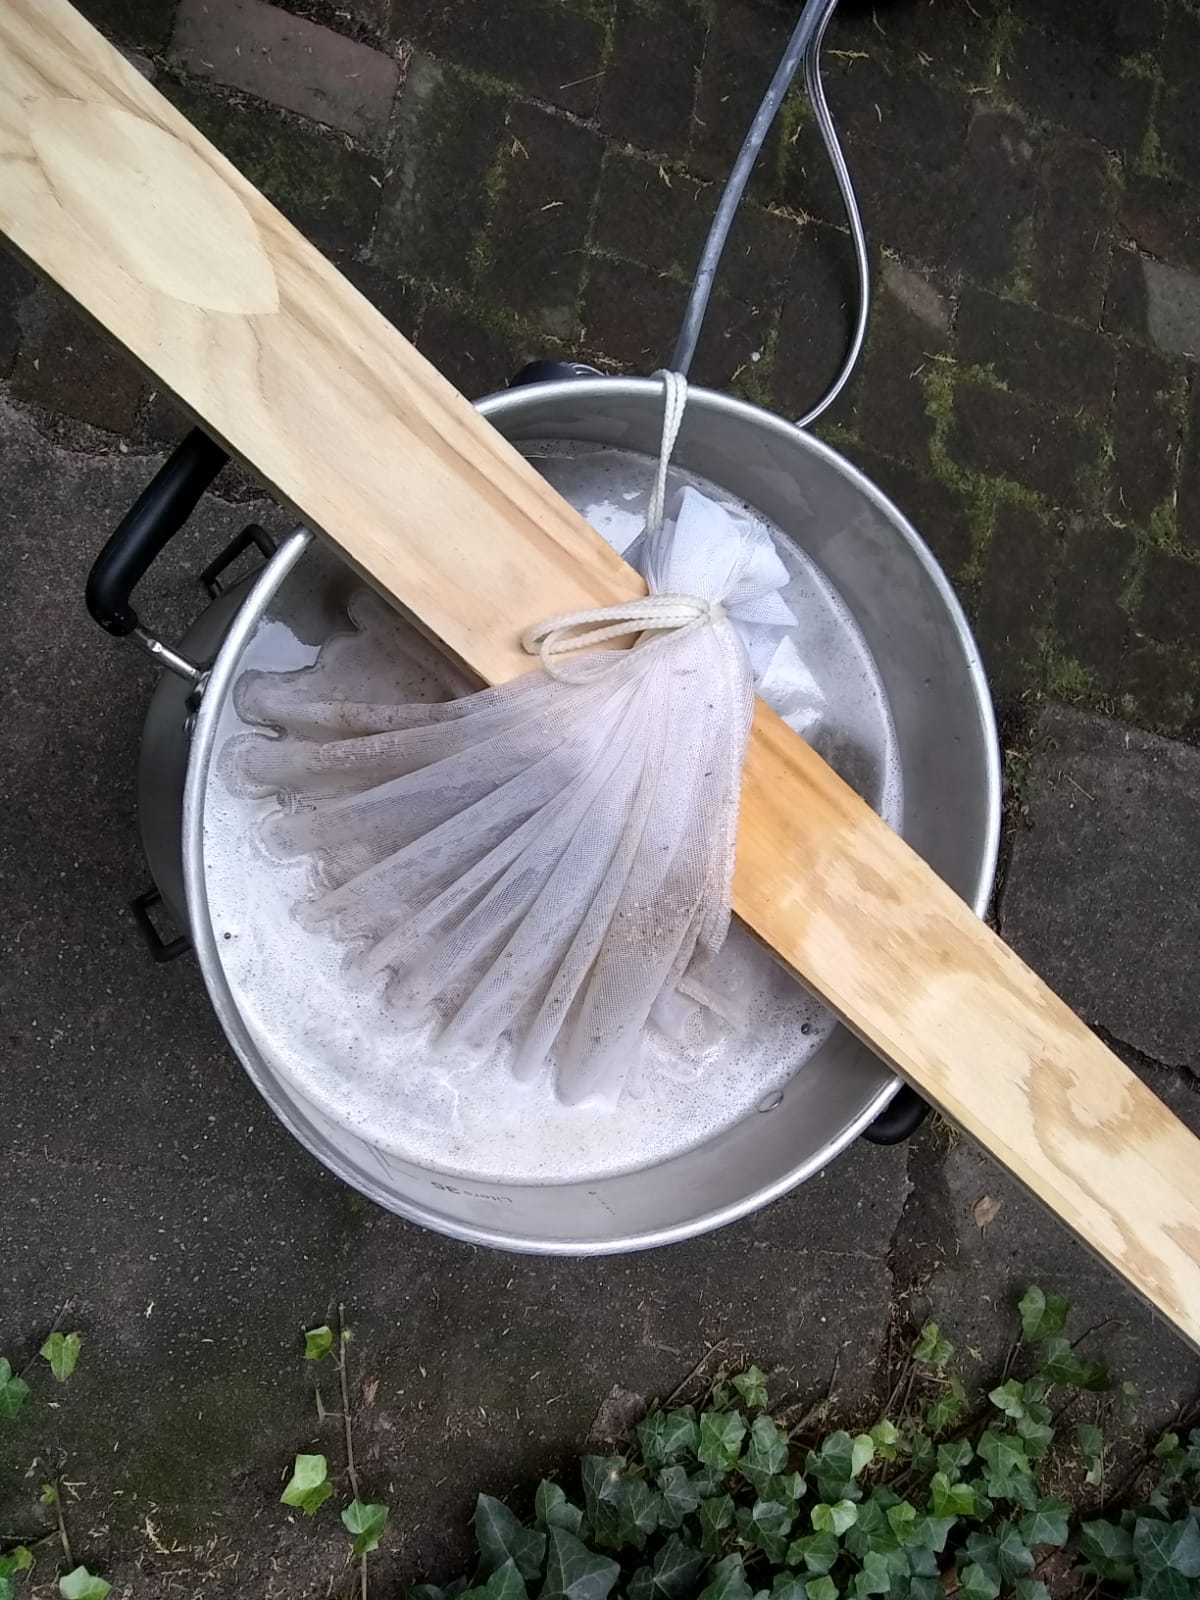
In October, we embarked on our next brewing adventure, a Maple Brown Ale (see recipe at the end of this post), getting some beautiful darkness with Chocolate malt. While, unfortunately, the maple didn’t quite come through in the taste as much as we’d hoped, it still came out tasting excellent and light (ABV 4.99%). The spent grain we had was also quite excellent. I’ve become quite skilled at spent grain pistolets and waffles if I say so myself!
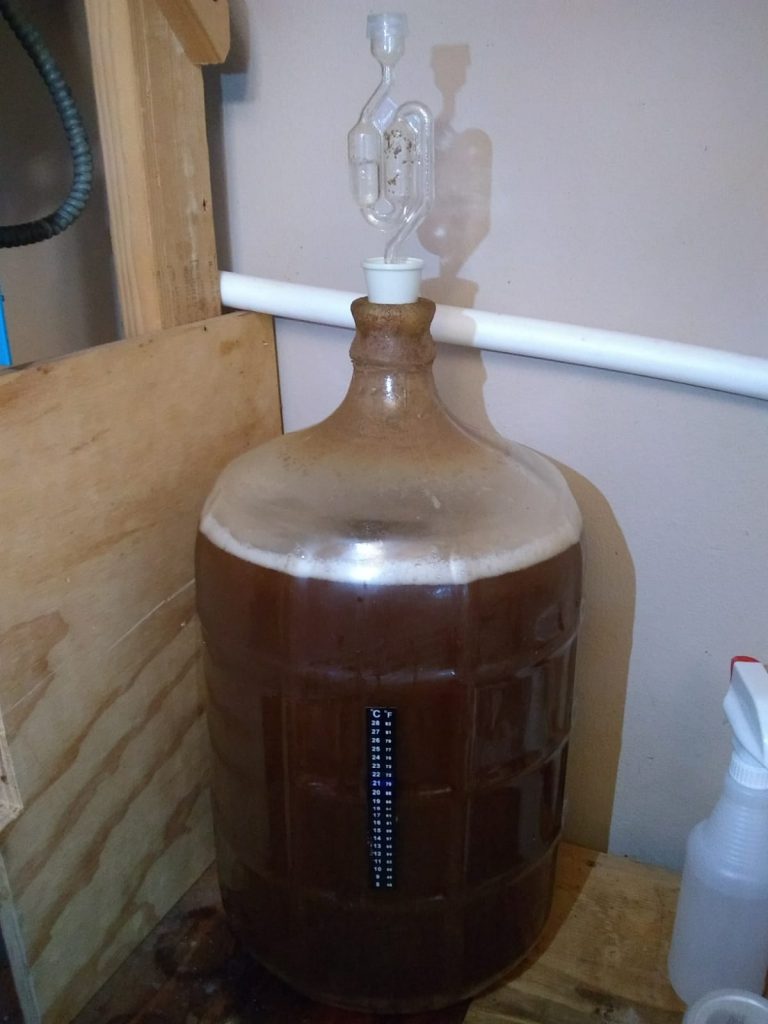
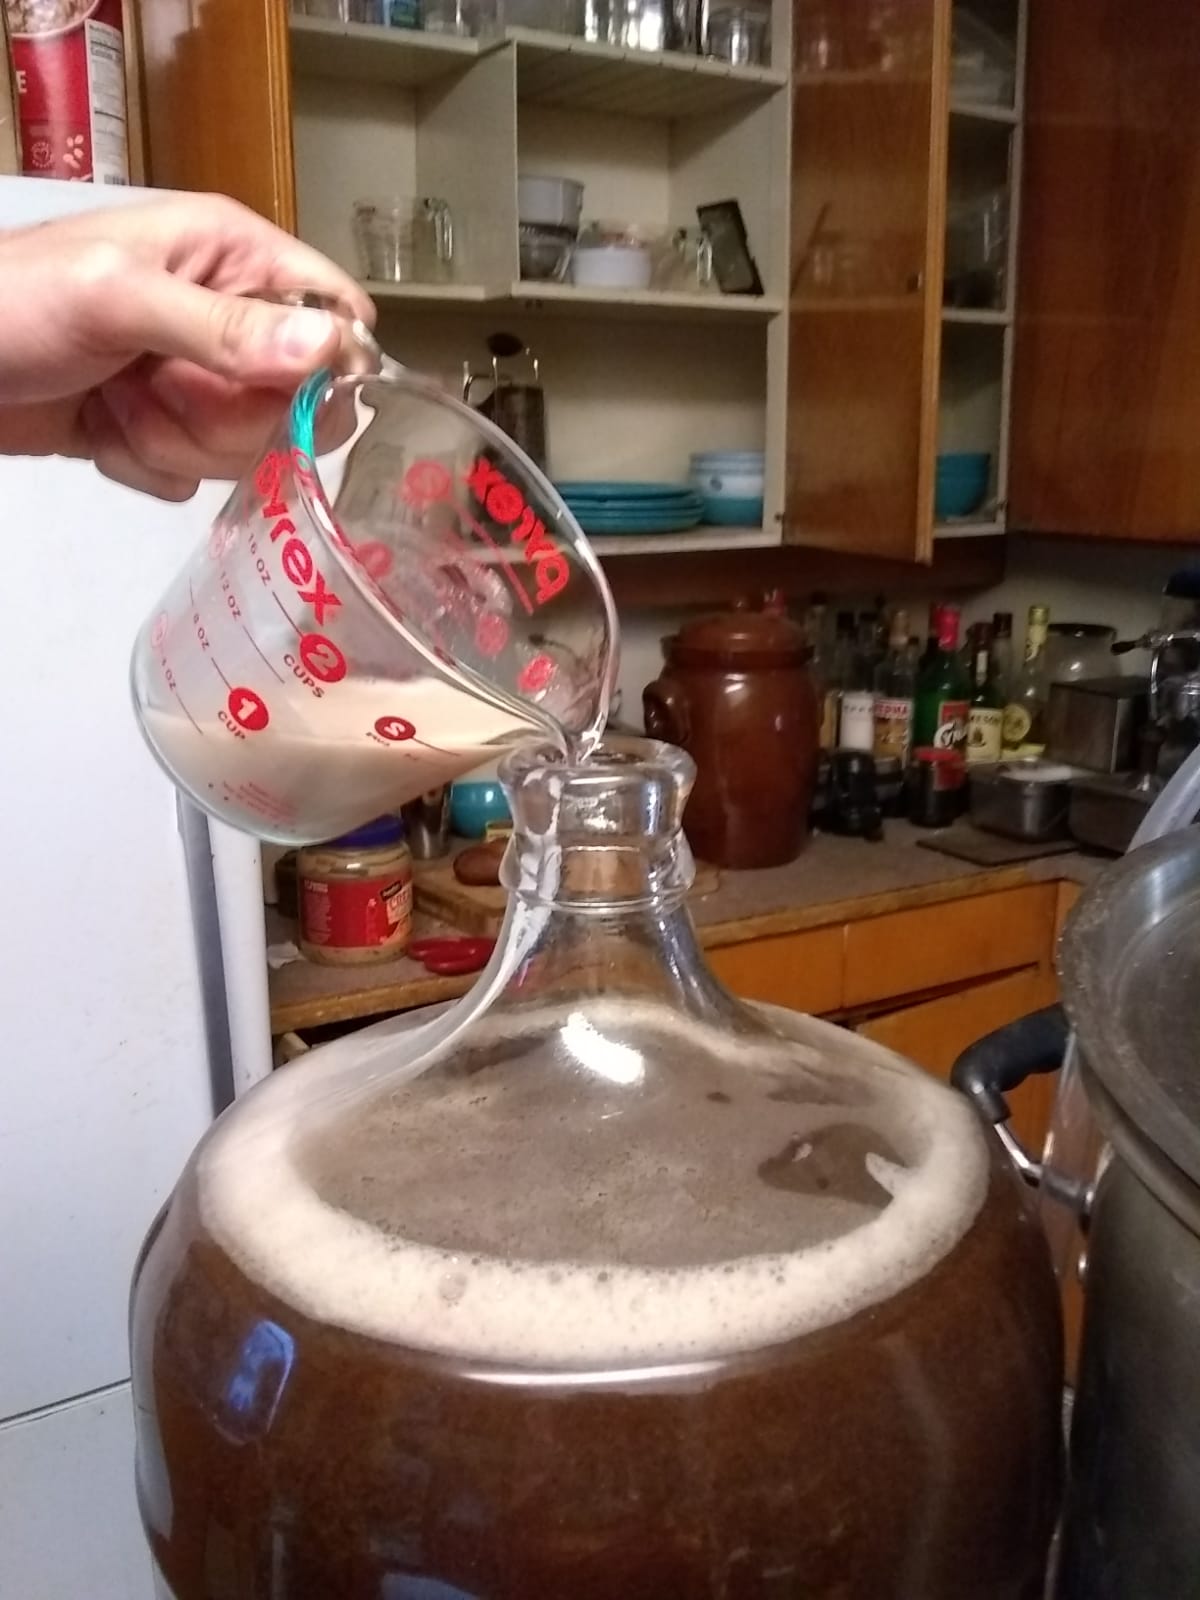
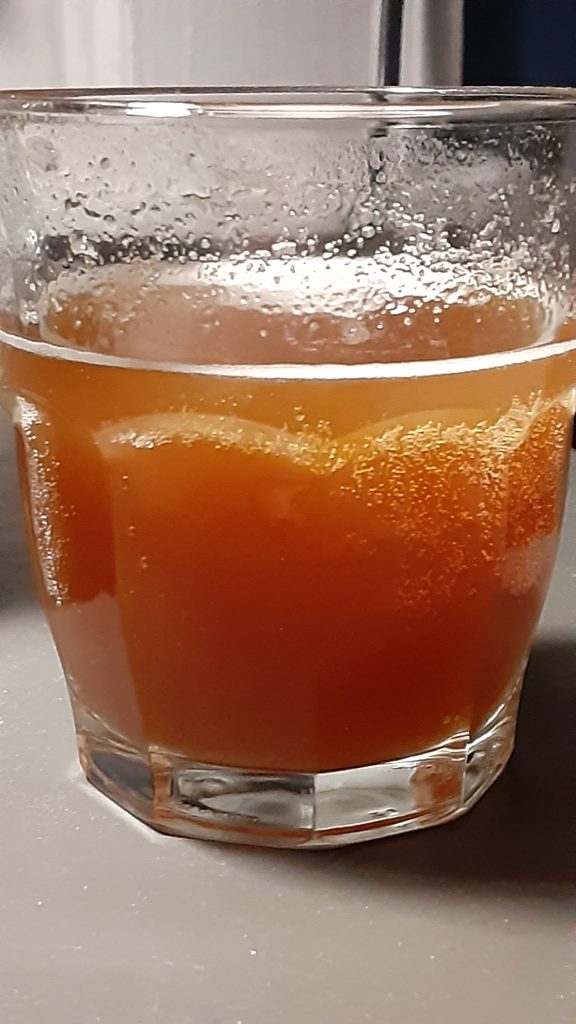
Bonus: we need some mead!
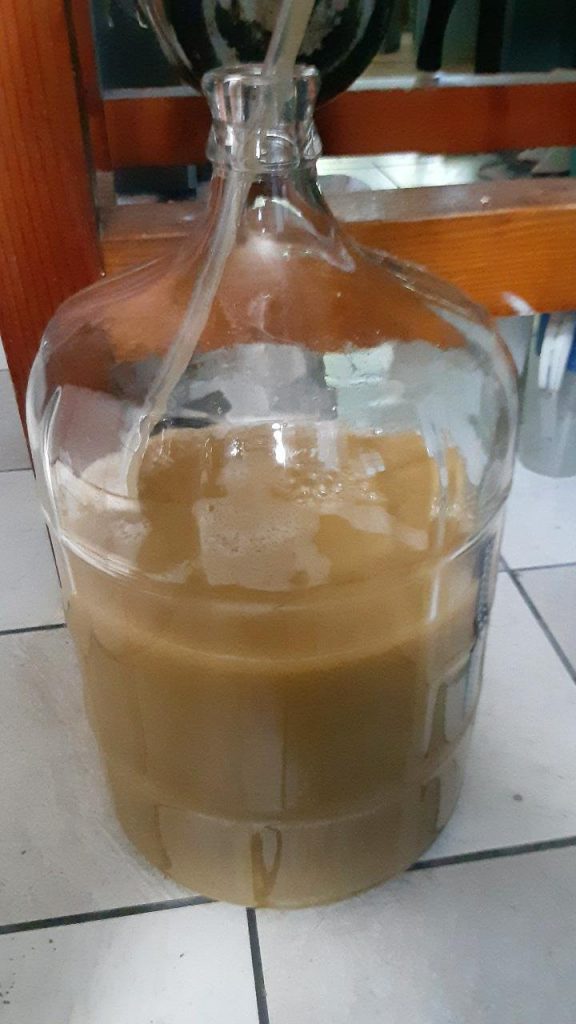
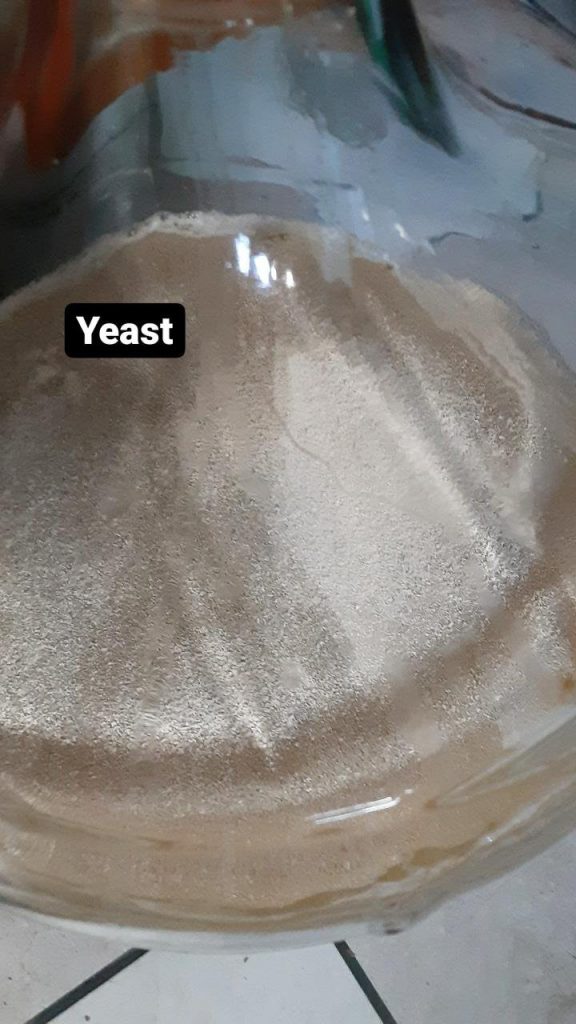
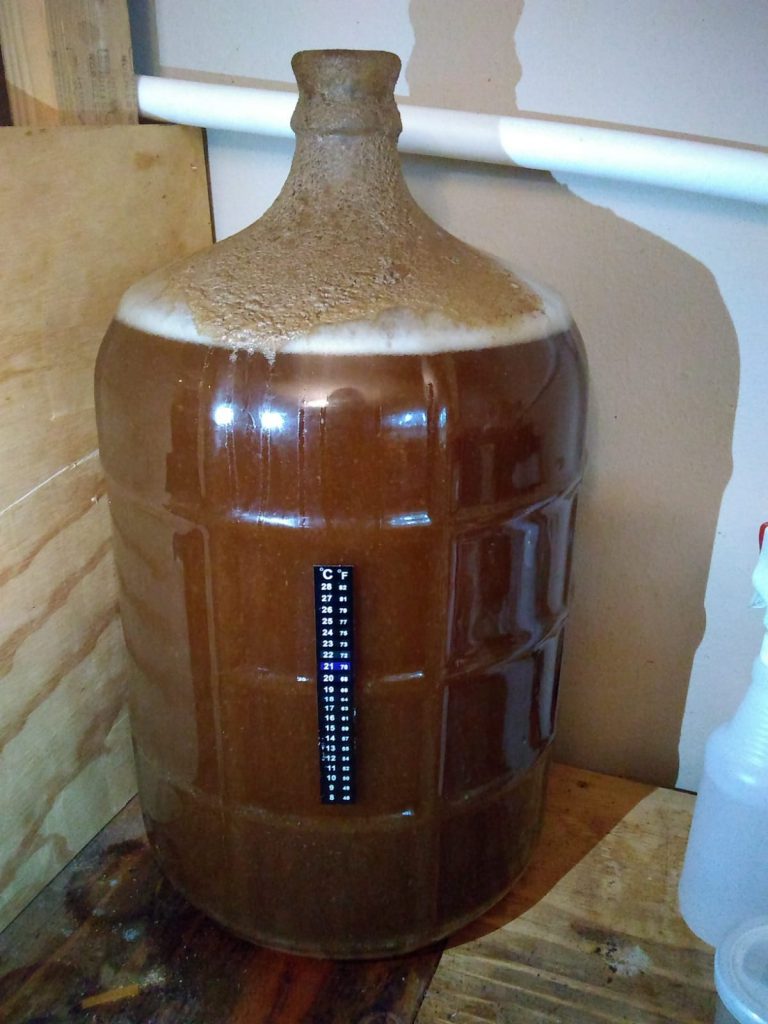
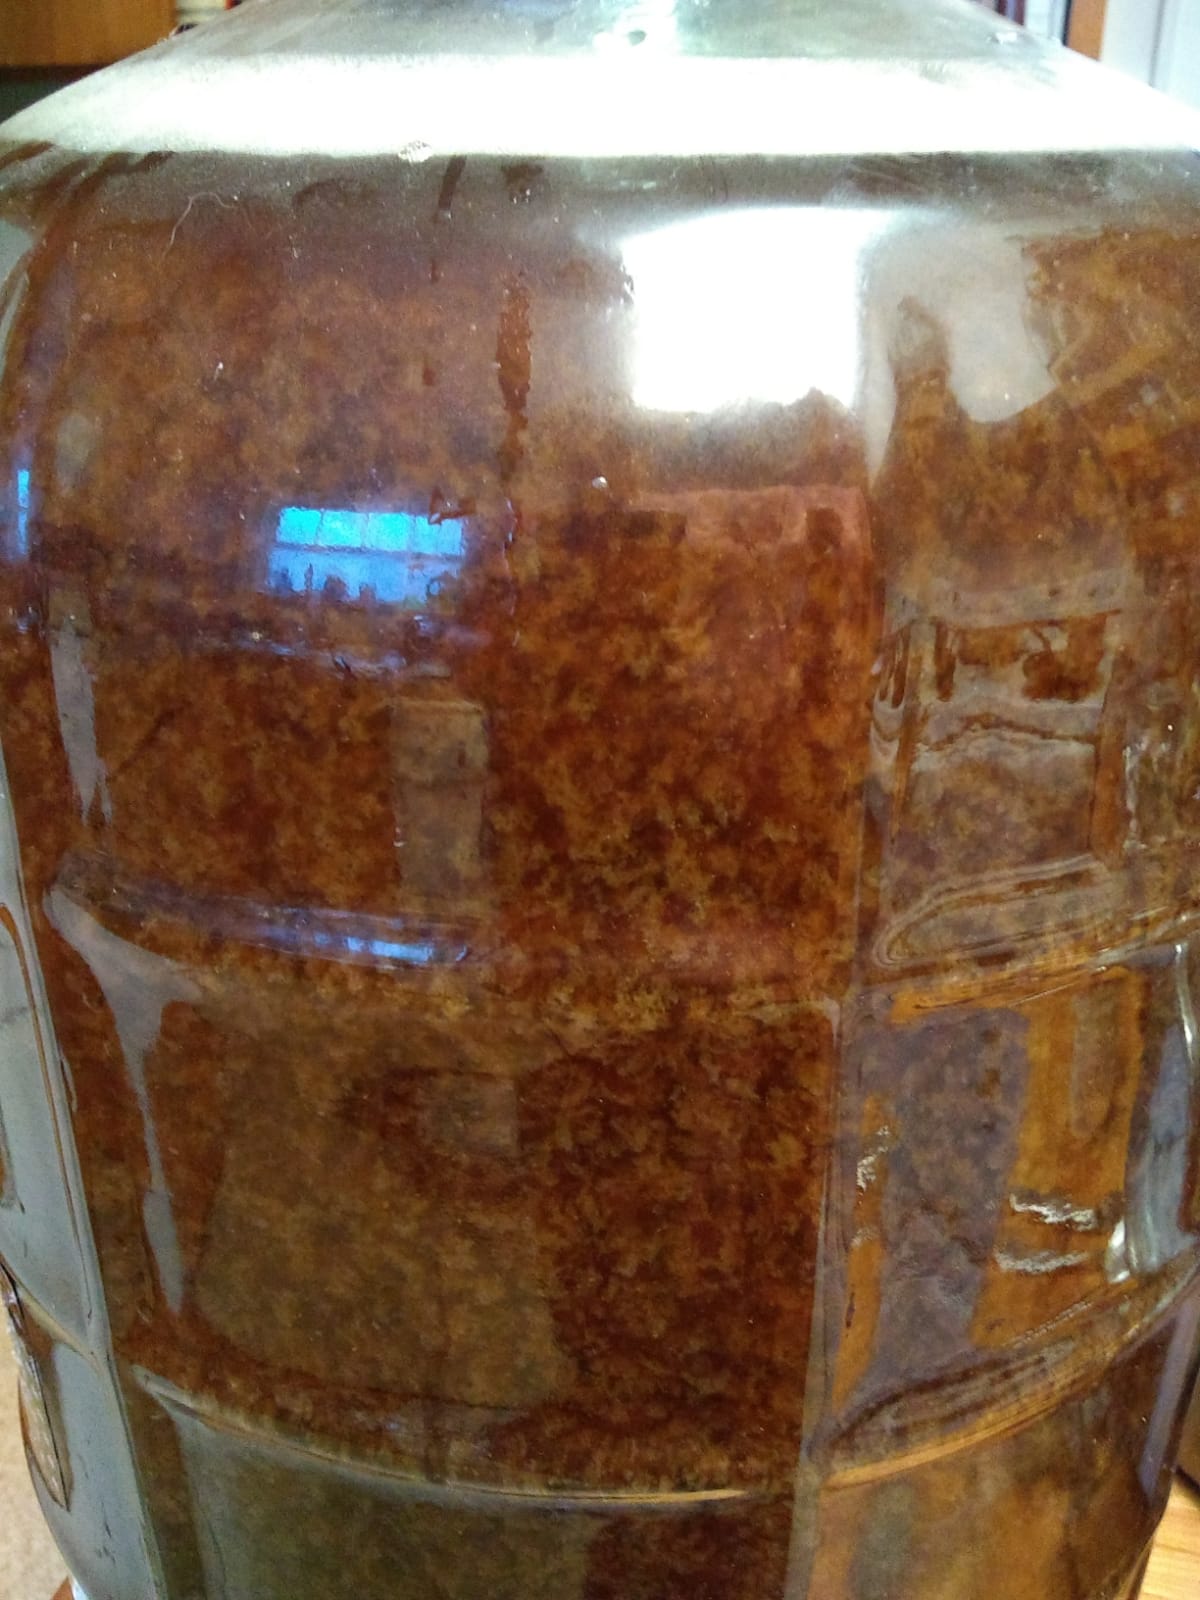
Because we somehow had a giant jar of honey available, and some fruit that was in need of use, we made some mead! We didn’t really use a recipe, just heated water with the honey, added chopped-up apples and pears (that were sort of almost fermenting on their own), and eventually yeast (Safale S-04 dry ale yeast).

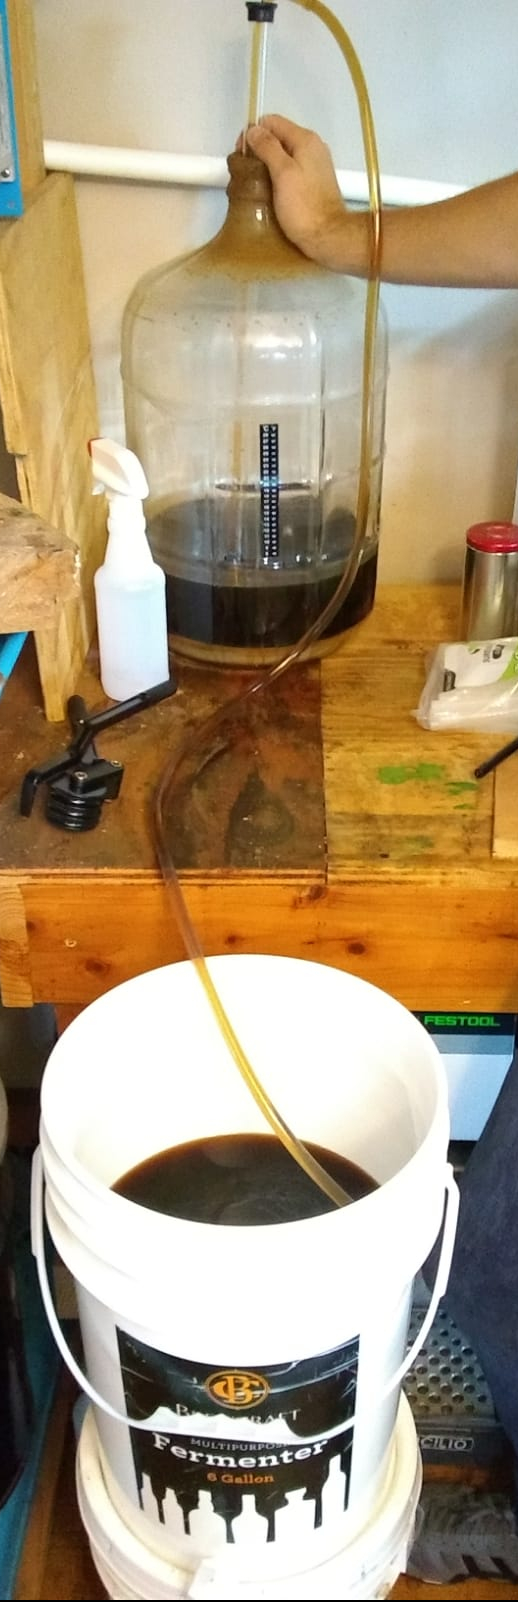
After three weeks or so in the carboy, we transferred it over to a keg.
And now we have mead! It came out relatively dry (how I like it), with a taste of honey and cider. And a reason to get all our friends introduced to mead!
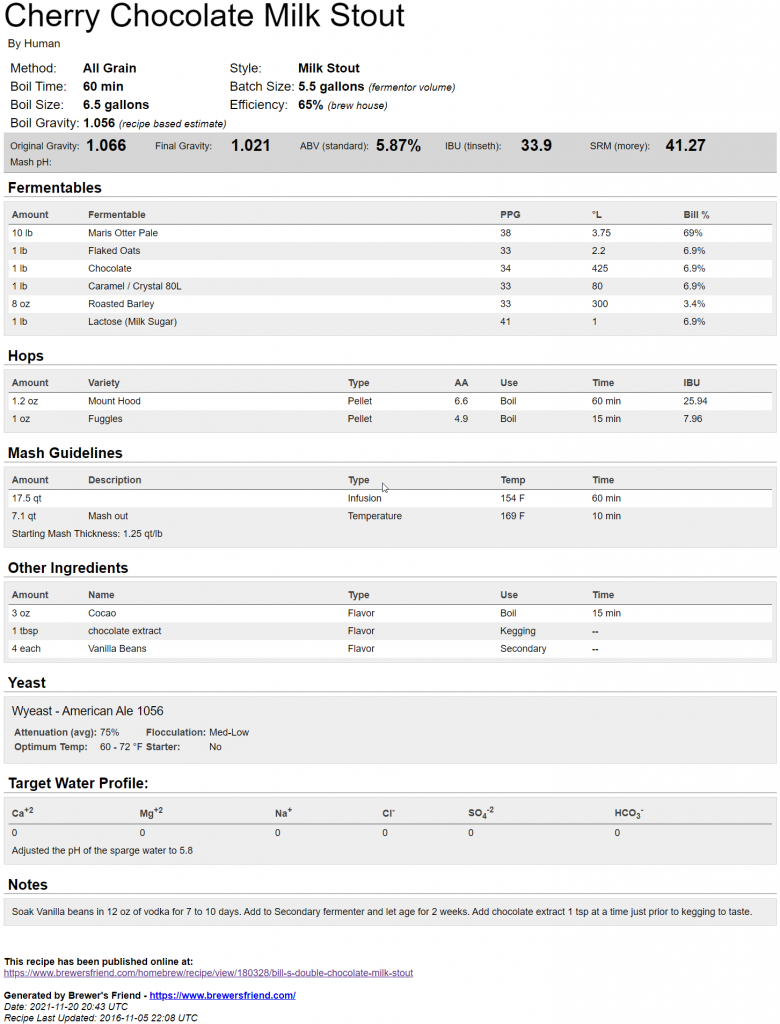
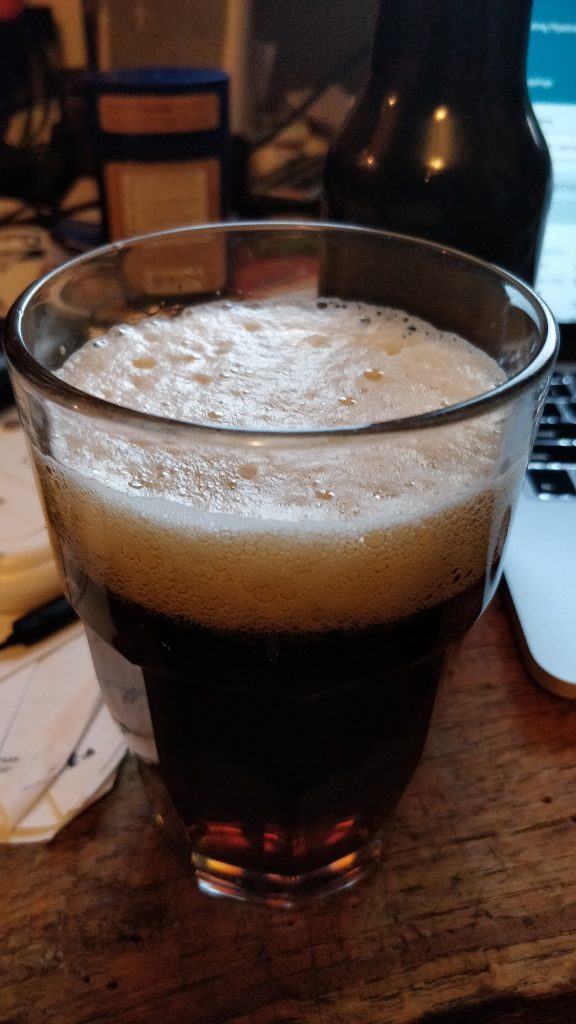
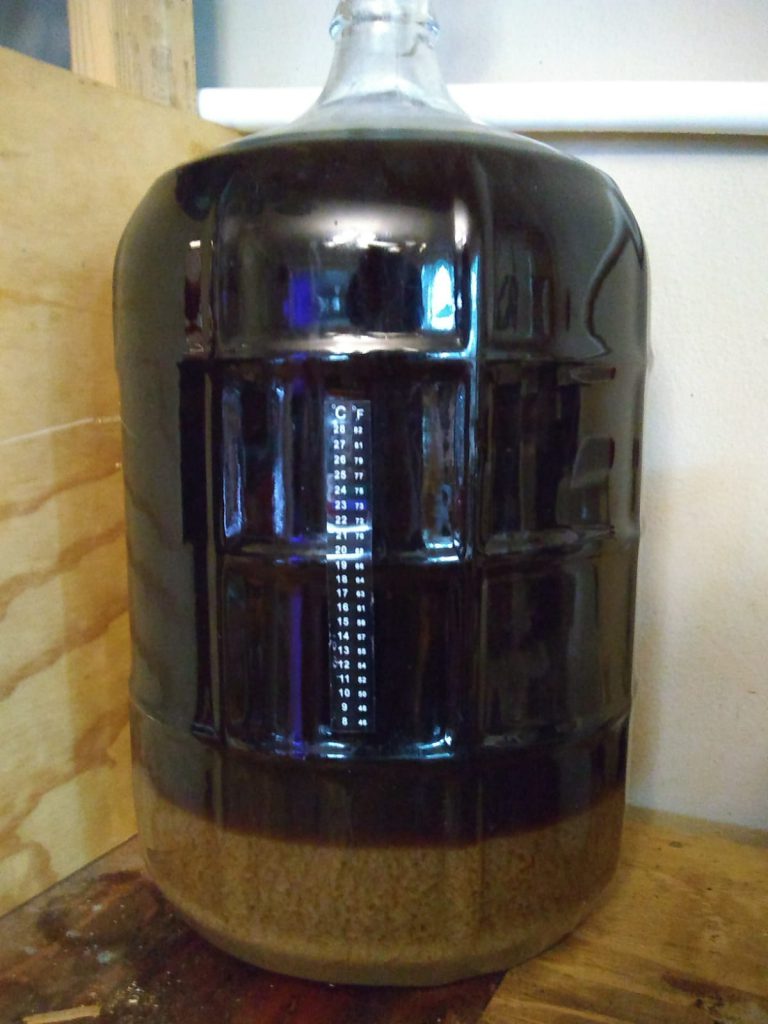
Batch #6: Cherry Chocolate Milk Stout
Our final brew of the year was a Cherry Chocolate Milk Stout, based on a recipe we found on Brewer’s friend. The trick to milk stouts is adding outs (for extra creamy foam), lactose, and dark roasted malts. To add the cherry and chocolate notes, we boiled some cocoa nibs and cherries, and added that flavorful water, when cooled, to the keg.
After transferring to the keg, we first hooked it up to the CO₂ tank for a few days, and then switched to nitro.
And the result? We learned that we definitely need more cherries and chocolate next time. The stout came out tasting very stouty (hurray), and oh my, the nitro is satisfying! The bubbles, they go down!
Also, the foam results in a pretty fun stache.

Starting 2022 with the following on tap:
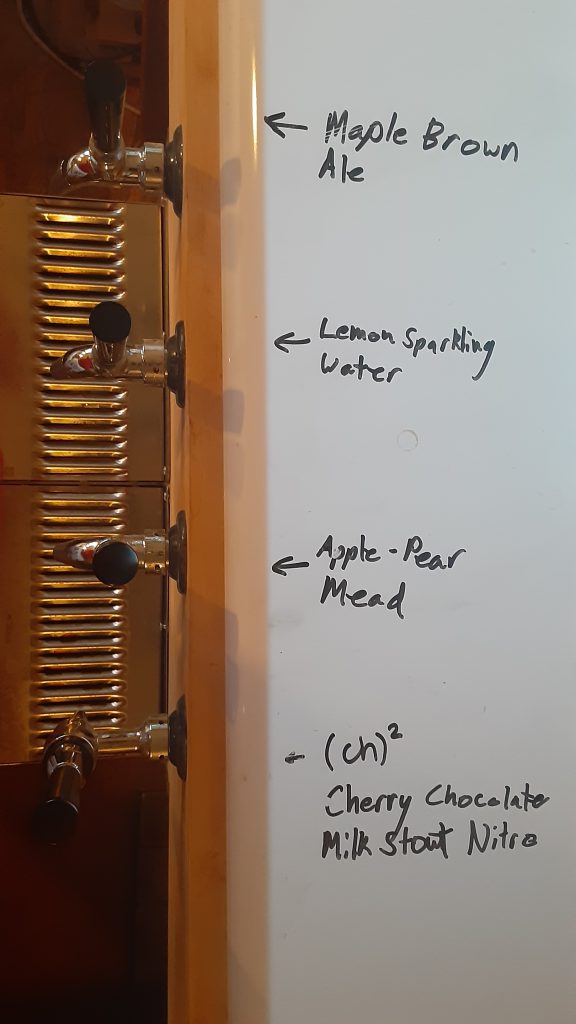
I don’t know about you, but that’s not too bad to start off 2022! I hope you all have a wonderful, safe, healthy, and interesting year ahead. Hopefully with some more content from yours truly!
Recipes: