After a week (well – it’s been two weeks at least by now) we opened our first bottle and gave it a try. I have to admit that I’ve had quite a cold lately, so my taste might be a bit off… Anyway, here’s the verdict:
We still didn’t get the type of beer as good as we’d hoped. It ended up being somewhat of a mild-tasting pale ale, or a very flavorful pilsner, or something in between. And no sign of the special ingredient.
We did get the alcohol content better; while we haven’t gone through the calculation, it tastes more like a proper beer (not a light version like last time) and after two of them I have to admit I feel a little giddy.
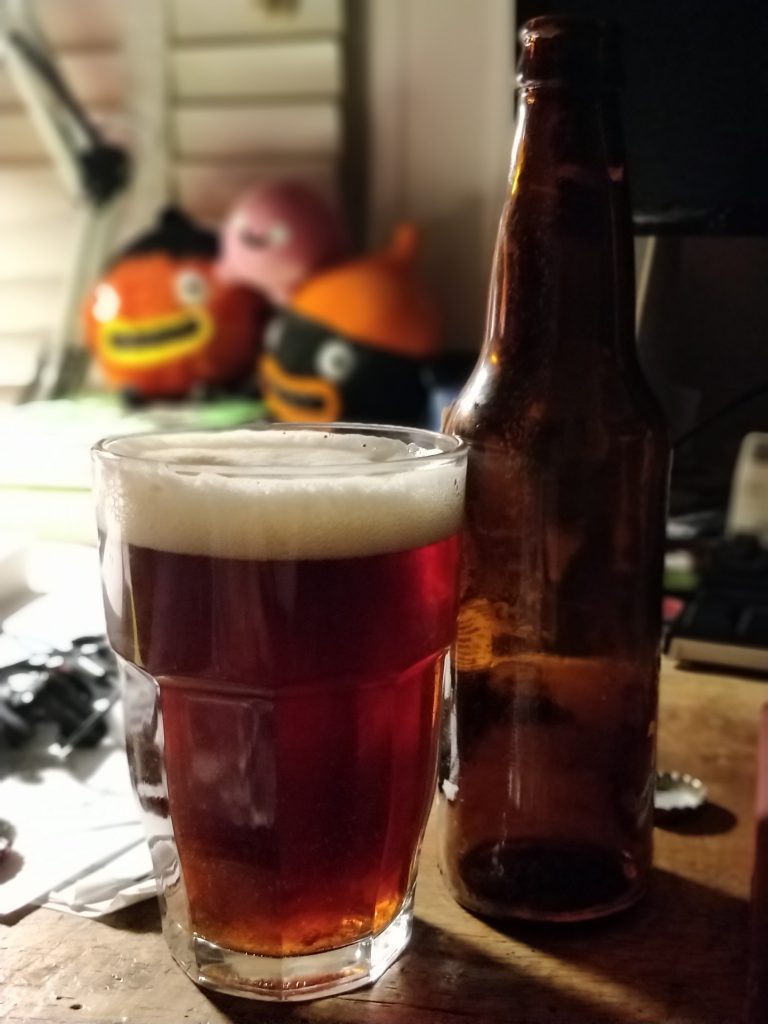
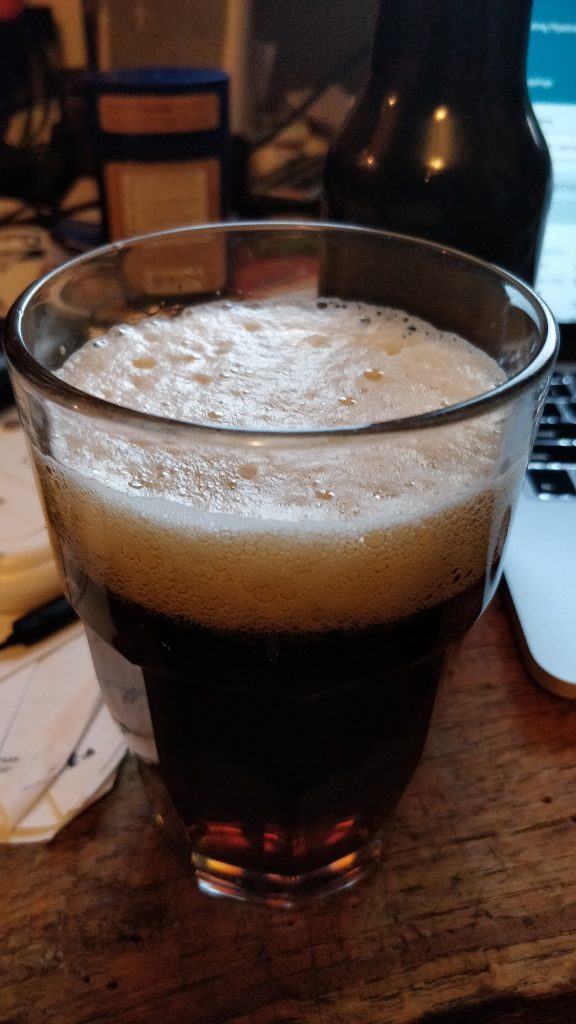
It pours really well, but the foam disappears quickly.
The responses overall have been pretty good – though mostly from people who dislike IPAs and were enjoying the non-hoppiness of our beer.
Final verdict: It was only the second try, it is more than drinkable and the process was fun to do! Next time, we should not have something else planned the same day and need to rush off.
In the meantime, we also made some Ginger Beer, which is very easy to make and tasted great! (Details later.)
If you feel like cooking things this holiday season and don’t want the multiple-week wait of beer, may I suggest stirring up a batch of tiramisu? It’s super yummy!
Could we bring dinosaurs back to life? Will we ever make contact with aliens? Will robots take over the world?
With these questions in mind, 6 scientists and I-didn’t-really-count-how-many audience members gathered together for the panelThe Science of SciFi, at this year’s GeekGirlCon – a celebration of geekiness in all its glory!
Dr. Daniela Huppenkothen, who studies black holes and asteroids using modern statistical tools and machine learning methods;
Dr. Kim Bott, who studies alien life scientifically (yes, that’s a real thing and it’s called astrobiology);
Dr. Meredith Rawls, who writes software to handle terabytes of nightly data from the Large Synoptic Survey Telescope, which will ultimately become the highest-resolution movie of the night sky ever made;
Dr. Jeanna Wheeler, who works with mice and nematode models to understand diseases like Alzheimer’s and ALS; and
Dr. Jenn Huff, who as an archaeologist focuses on questions like “what can technology we invented and adopted in the past tell us about how we relate to technology now and in the future?”
Guided by questions from the audience, we explored the links between scientific research and science fiction, looking at what advances are being made in fields portrayed in SciFi media, discussing fictional and real research, and what lessons each can learn from the successes and failures in the other.
Here are some of the take-home messages I’d like to share.*
Science fiction makes scientists
One thing that was immediately clear was how science fiction had influenced the panelists in their life. By seeing positive female role models in their favorite science fiction shows and movies – just think Samantha Carter from SG-1, Ellie Sattler in Jurassic Park, Ellie Alloway in Contact, and numerous female characters in the Star Trek franchise, – they had someone to look up to and aspire to be like.
Seeing female characters who were both physically and intellectually adventurous, who were tough and smart, who were well-rounded and passionate, showed the women on the panel, and many female scientists, that they too could be a scientist.
There are several studies showing that having representation matters. If all you ever see is people who are not like you doing a thing, you’ll be less inclined to do that thing. If we can create positive role models, show that STEM professionals come in all stripes, we’ll create a more diverse and exciting research environment.
Response to a Discovery’s very non-diverse promo video showing that – even if it’s not a full representation of everyone in science – #scienceisforeveryone.
… but we can still do better!
Despite there being quite a few inspirational science fiction scientists, the overall depiction of scientists and the science they do in movies, series, and books is often – well – inaccurate.
Scientists are not (always) super smart, geeky people who sit around in a lab coat for no apparent reason and solve the science thing within an hour. Oh, not to mention being a very attractive, mid-twenty-year-old with 4 PhDs. Or a software developer spending 30 seconds to find the bug in their software. Because that sounds totally possible, and I know some software engineers.
Little known fact: when you get a Ph.D., you get a bonus second Ph.D. on calling people on their shit. From: Rampage (2018)
Let’s also not forget the idea that for scientists in fiction, science is often their whole life. Showing that being super passionate about science, and science only, is the only way to be a good scientist is not a message we want to share. Could we have more well-rounded, realistic, scientists in fiction, please? With hobbies and all?
And while we’re at it, let’s get some science straight: mutated does not equal evil; mutation is the substrate of all the beautiful diversity we have everywhere!
Special acknowledgment to shows that do show good representations of scientists. The Martian depicted a scientist pretty well. And not to pull favorites, but The Expanse has a pretty good portrayal of gravity systems affecting how a body develops. Not to mention that long-haired people in space definitely tie up their hair and that there is space in space – and it takes time, fuel, and pulling Gs to travel through it.
Accuracy versus story
This brings up another question: does science fiction need to be scientifically accurate?
Sometimes science fiction is fun because of the story or the characters. Who doesn’t love some good space magic?
The consensus seemed to be that, as long as things are consistent with the story, and that the movie/series/book isn’t claiming to be super scientifically accurate while totally not actually being so, accuracy is not the most important thing.
“In space, no one can hear you scream.” In The Expanse, the solution is to hold helmets together so the vibrations can pass to the other person. Sometimes scientific accuracy is cool. From: Paradigm Shift. Season 2, Episode 6 of The Expanse.
Human vs. Tech?
Another point was brought up during the panel: how will future technology shape our future?
It started with a discussion on making designer babies – whether this would be feasible, and what the ethical implications might be. With CRISPR/Cas9 technology making small edits to a genome a lot easier, it does not sound like something too far in the future!
While we are likely to be able to treat serious diseases with a clear genetic cause sometime soon, making genetic super-humans is a whole other deal. We don’t really really know enough about the genetics of intelligence (to name one trait) to make those changes! And if we believe science fiction, making superhumans usually does not end well.
That’s the way it usually seems in SciFi – tech will either be the end of us all or the solution to all our problems!
But if we’re being honest, technology is just heated up rock (quote from Jen). Most of our problems are of social nature, and technology will not be able to solve those.
For example, there are numerous examples of computers in general, and algorithms in particular, increasing inequality. We give computers datasets that are biased, so the automation will also be biased!
Technology is not the solution. It is an agent. We would better ask what humans are going to do with new technology. How will we shape our future?
Honorable quotes (slightly paraphrased):
“Can we ever train humans to be unbiased?” – Jeanna, as a response to the question of whether we can ever make AI/algorithms unbiased.
“I’ve never watched Interstellar, but I’ve read the scientific paper that came out with it.” – Daniela, commenting on how Interstellar felt a little close to her real work.
“If we can’t fix/control our own climate – we’re unlikely to be able to change that of another planet. Also, should we? Do we need another planet?” – Kim and Jeanna commenting on when we’ll be able to terraform another planet. Also, remember that time we *accidentally* left tardigrades to the moon?
“We do have spooky action at a distance” – Kim bot on how quantum entanglement explains how we can transfer information faster than the speed of light. Which is probably as close as we can get to having transporters.
* We talked about a lot more than what I’ve briefly described here. Feel free to reach out to any of the scientists on twitter to find out more or to ask your favorite science-versus-science-fiction questions!
A few weeks ago, we brewed our very first batch of beer. It was a mixed bag (of grains – haha!): our alcohol content was a lot lower than expected, but it tasted pretty nice regardless. Like a lighter version of a dark beer.
Excited to give things a second go, we gave things a second go!
This time around, we wanted to make a Pale Ale (with a special twist*). You can find the general recipe here; or scroll down and see the process in action!
AND PRETTY YUMMY!
* Rosemary. The special twist is rosemary. We added it to the hoppy-tea-making step during the last 10 minutes of the boil.
In addition to the rosemary, we made another change. We ran out of time to do the complete 90 minute boil. We only boiled for 60 minutes which meant we were left with a more diluted version of our grain-tea-soup thingy (and thus lower specific gravity). To compensate, we added extra sugar after the first few days to keep fermentation going.
Spent grain bread: basically a version of whole-grain bread. We forgot to add salt to ours so it ended up pretty sweet-tasting but other than that, quite nice! You can find an example recipe here.
Plane food is known to taste – well – not so good. The bad news is that researchers have found out why that is and there’s not much we can do about it. The good news is that researchers how found out why that is and now plane companies can prepare foods that have tastes that are more compatible with plane flight.
And then charge us an arm and a leg for it.
Nevertheless, let’s take a closer look at that science, shall we?
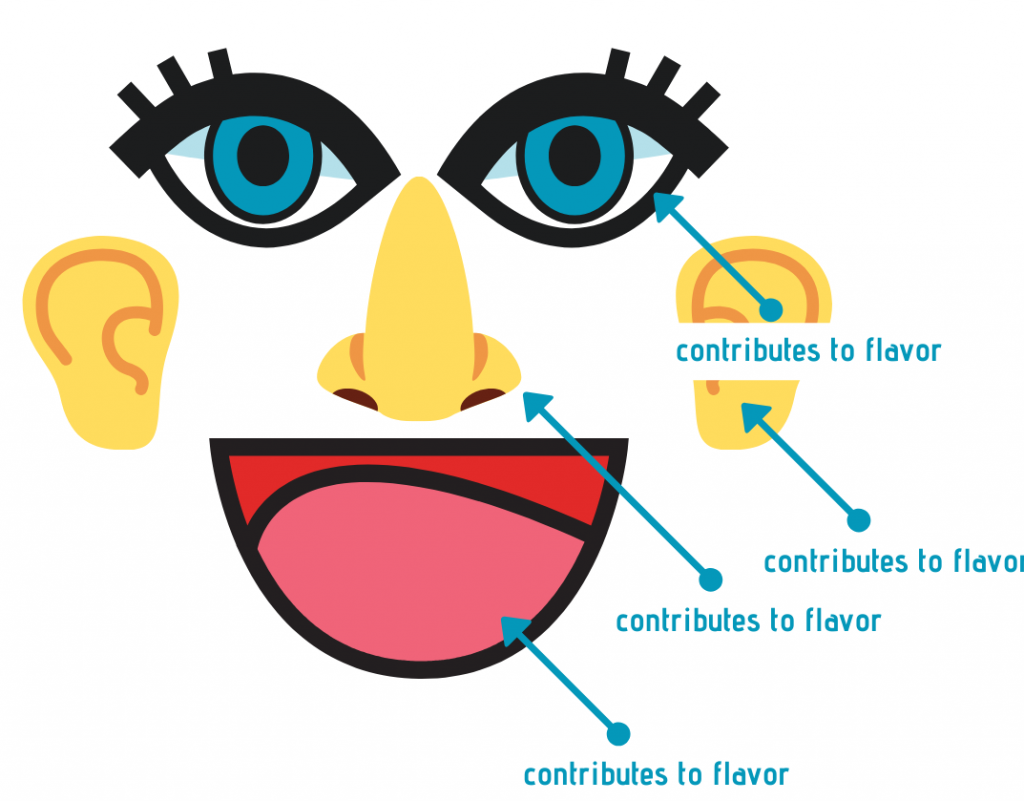
Taste or flavor?
When we say something “tastes” good, we typically are talking about its flavor. Flavor is our general sensory perception of something we put into our mouth (phrasing?). It’s the combination of our other senses, mostly taste – what is perceived by our taste buds on our tongue and in our mouth – and smell – what is perceived by receptors in our nose.
Wait, there’s more.
Part of flavor depends on psychological factors, and hence from other senses. Have you ever eaten an apple that – while it may have tasted okay – had a grainy feel? Would you have said that the apple was “flavorful”? I wouldn’t. And food that just looks unappealing will have to work a lot harder to make our brain thinks it’s tasty.
Finally, it turns out that sound influences the way we perceive flavor. And that’s where planes come in.
And also highly contributes to the uncanny valley.
Quiet in the cabin, please
Research suggests that one of the main reasons for plane food tasting so bad – apart from maybe mediocre cooking and aluminum food trays – is because loud noise environments significantly influence our sense of taste.
Airline cabins are notoriously loud. Noise is often over 85 dB, which is louder than that annoying open office you work in. During take-off and landing, noise can even up to 105 dB, but as your trays must be in the upright position – you’ll not be eating at that time anyway.
Here’s how your taste perception changes: sweet tastes are suppressed, while umami is enhanced.
That means that sugary drinks don’t taste as sugary and actually might explain how I – a non-soft-drink-drinker – can bear drinking a can of coke. A mini can of coke, obviously, that’s all you’ll get. You might have also noticed that the cookies you get on the plane taste suspiciously sweet off the plane (if you are like me and just put everything you get in your bag for a future snack).
On the other hand, umami gets a bit of a boost. Umami is the savory taste you find in foods with high levels of the amino acid glutamate, such as tomato juice, mushrooms, miso, and parmesan cheese.
Some airlines are very aware of this savory fact. The German airline Lufthansa started working with chefs to make more savory meals after they had observed that their passengers were drinking the same quantities of tomato juice as beer!
As if I don’t have enough problems on the plane. From tripinsurance.com.
Where do we go from here?
Other airlines could pay attention and change their recipes to take advantage of that enhanced-umami effect. Or hand out earplugs for during meals (I’m not sure there has been research on how earplugs might help).
Or – as we do in our family – you bring your own food. Just knowing you made it yourself makes it taste better; let’s be honest, airplane food just always looks a bit mushy. So make an omelet sandwich!
Bone App The Teeth!
Original paper: Yan KS, Dando R. A crossmodal role for audition in taste perception. J Exp Psychol Hum Percept Perform. 2015 Jun;41(3):590-6. doi: 10.1037/xhp0000044.
Giving a talk is hard. Giving a talk to the “general public,”* is possibly even harder. What if people don’t care about what you’re talking about? What if you’re not able to explain it in a clear way, without “dumbing it down”? There are many pitfalls to giving a public talk, and from giving and going to quite a few myself, I have a few ideas on how to make sure you nail your next talk!
A mistake I’ve seen quite a lot is diving straight into the data. But that will immediately lose anyone in the audience who is not an expert in [insert topic of talk here]. Here’s an example outline for a [fictional] talk about research on a sciency thing:
1. Set the stage
Tell the audience why they should care. Maybe your research is on ice shelf stability and there was something recently in the news about a city-sized chunk of ice breaking off an Antarctic ice shelf. Lucky you! (not so lucky for the ice shelf though). Use that powerful image as your first slide!
Or maybe what you’re talking to contributes to the rising sea level? Great for you! (not so great for the Netherlands though). Use that striking image of cities that will disappear as your other introduction slide.
Part of Manhattan, and Jersey City but who really cares**, will flood with a 15 ft/4.7 m water rise (equivalent to the 2ºC temperature increase we should be more scared about). From: Before the Flood
Or, if you’re like me, your research is (was) about the Physics of Cancer. I like to start talks pointing out that “physics” and “cancer” are not necessarily two concepts that we think about in the same context.
Whatever you’re research is about, there is a reason to care and a very illustrative image to accompany your impassioned exposé of why we should all be caring. You’re learning more about how cells work which can lead to better disease treatment. You’re satisfying our human need to keep on exploring by making better rockets to send into space. You’re leading to a better understanding of how humans interact with each other which will help us all be better to each other.
I don’t know, I’m just spitballing, but your research is important and we should care. And there is most definitely a meme, powerful image, or powerful gif available that shows us why.*** Because, let’s face it, we all like pictures more than words, no?
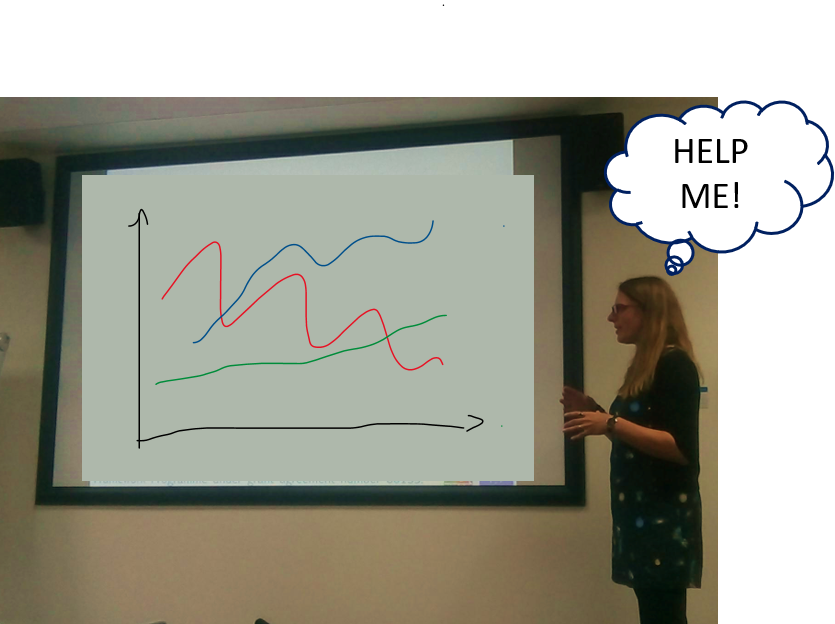
2. What do we know?
Time to show some numbers. Maybe there are some prediction models and the observations made in the last decades are increasingly matching those (scary) predictions. If you’re giving that talk about sea-level rise, show the climate temperature rise graph. If your talk is on a new and tinier microchip, Moore’s Law is your thing to show. If your talk is on cancer, you can give some numbers on incident rates, or how earlier detection can lead to earlier and better treatment.
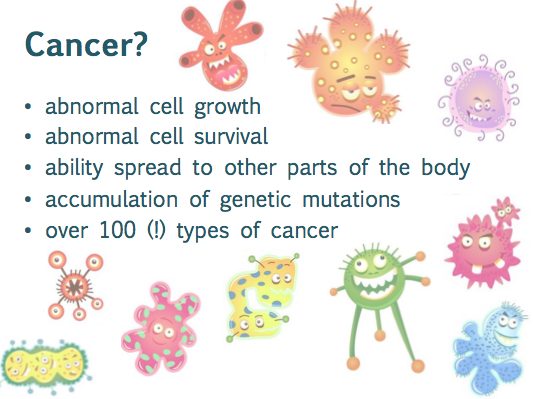
In my case, my second slide is an overview of what cancer actually is, followed by an outline of what my talk is about: how understanding the changing mechanical properties of cells and tissue can help us better understand how cancer works, improve diagnostics, and come up with better ways to detect cancer.
[Not a real representation of cells… contrary to popular belief (not really), they do not have faces.]
In short, set your research into a more general perspective. What is the current view on this subject, and where are the giant gaps in the knowledge. Because that’s where you come in!
Tip: if you ever start a slide with “there’s probably too much data on this slide…”, just don’t. Break it up into multiple slides. Only show the data that matters for what you’re saying. Anything but saying there’s too much data.
3. Time to shine!
This is where you can plug in your stuff. What is new about it? What problem is it solving? What does this new shiny data show?
Look at my data, my data is amazing.
Some tips to help:
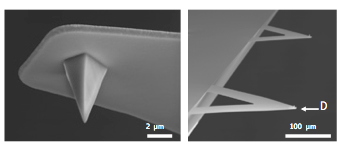
Show the process of your research and tell a story. People really like hearing stories about science is done. Maybe there’s an anecdote about how you were messing around with scotch tape and suddenly discovered graphene. Or about how you were able to hitch a ride to the field study and made an unusual friend. Or how the first time you set up the Atomic Force Microscope, which uses a tiny micro-probe, you broke the tip right when the professor walked into the lab.
That triangle-shaped thing on the left labeled D is tiny and breaks really easily, especially when the scientist using it is being watched. From Bruker.
Also, don’t “half” introduce a complicated concept. If you need to explain a complicated technique to explain your results, go ahead. But don’t half-mention them and leave the audience wondering what that word (or abbreviation) was all about. Did you know that AFM can refer to Atomic Force Microscopy, Acute Flaccid Myelitis, or the American Film Market?
4. Conclusions
End your talk by looping it back to the first point. You told us why we should care about the subject, now tell us what your new findings mean for that subject. Add some future perspectives. Add another meme. Add an inspirational quote. Leave time for questions. Or if you’re me, you might take out a ukulele and sing a song.
A final tip, make sure you plan your talk in advance! There is nothing more frustrating than seeing someone rush through their slides because they didn’t do a run through.
If you are in research and early in your career, such as a PhD student or a Post-Doc, you might have the chance to take some science communication training through your institution. I would highly recommend it! There are plenty of resources online as well!
Final thought, I secretly believe that scientists at all levels should take get training and practice about giving engaging presentations, to whichever audience, and learn how to make sure your audience doesn’t get put to sleep.
Good luck! You got this!
* “General public” is the worst blanket description of an audience. Let’s just say that the people who might come to a public lecture are not experts in whatever you are talking about but do have an interest in it (or they wouldn’t be there).
“Not bad, it tastes like beer, I could drink this.”
A.
So it has a pretty good taste. It tastes like a light version of what we were trying to achieved (a brown ale). Considering the alcohol content is probably around 3%, we can probably sell it off (not that we’re selling) as a “light dark beer.” If it would have been a little bit more alcoholic, it would probably taste a bit stronger and more flavorful, but for a first try, it is really nice!
And it pours pretty nicely too, look at that head!
It’s so foamy
What would we do differently next time? It is likely that during the boiling phase, we didn’t extract enough of the sugar. The recipe we were using, did not use the “tea bag” technique as we were. So perhaps boiling for a bit longer would have extracted more sugars, giving the yeast more stuff to ferment.
Final verdict:
“Pretty tasty, good for a first try, and plenty of room to improve! We did it.”
There’s a molecule called miraculin and as the name suggests, it’s quite miraculous. The molecule is a glycoprotein, meaning it has both amino acids (the building blocks of proteins) and oligosaccharides (sugars). It’s extracted from the fruit of the Synsepalum dulcificum plant, which is native to West Africa.
Even though the molecule is part-sugar, it does not taste sweet. But it does something funky with your taste buds: if you eat a miracle berry and thus expose your tongue to miraculin, the molecule binds to the sweetness receptors. If you then eat something sour, it will taste sweet instead.
The exact mechanism is still unknown, but the molecule changes your taste perception by ensuring sweetness receptors are activated by acids. For about an hour, sour-tasting foods are weirdly sweet.
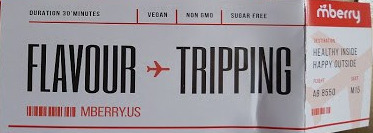
Now you can buy a “strip” of miracle berry pills, which comes with a ticket for a “flavor trip” and looks a little bit like drugs.
One trip to flavor town, please (adapted from here because I forgot to take a picture.)
Putting the miracle to the test
Guess what we did? Of course, we put it to the test!
On the menu: everything sour
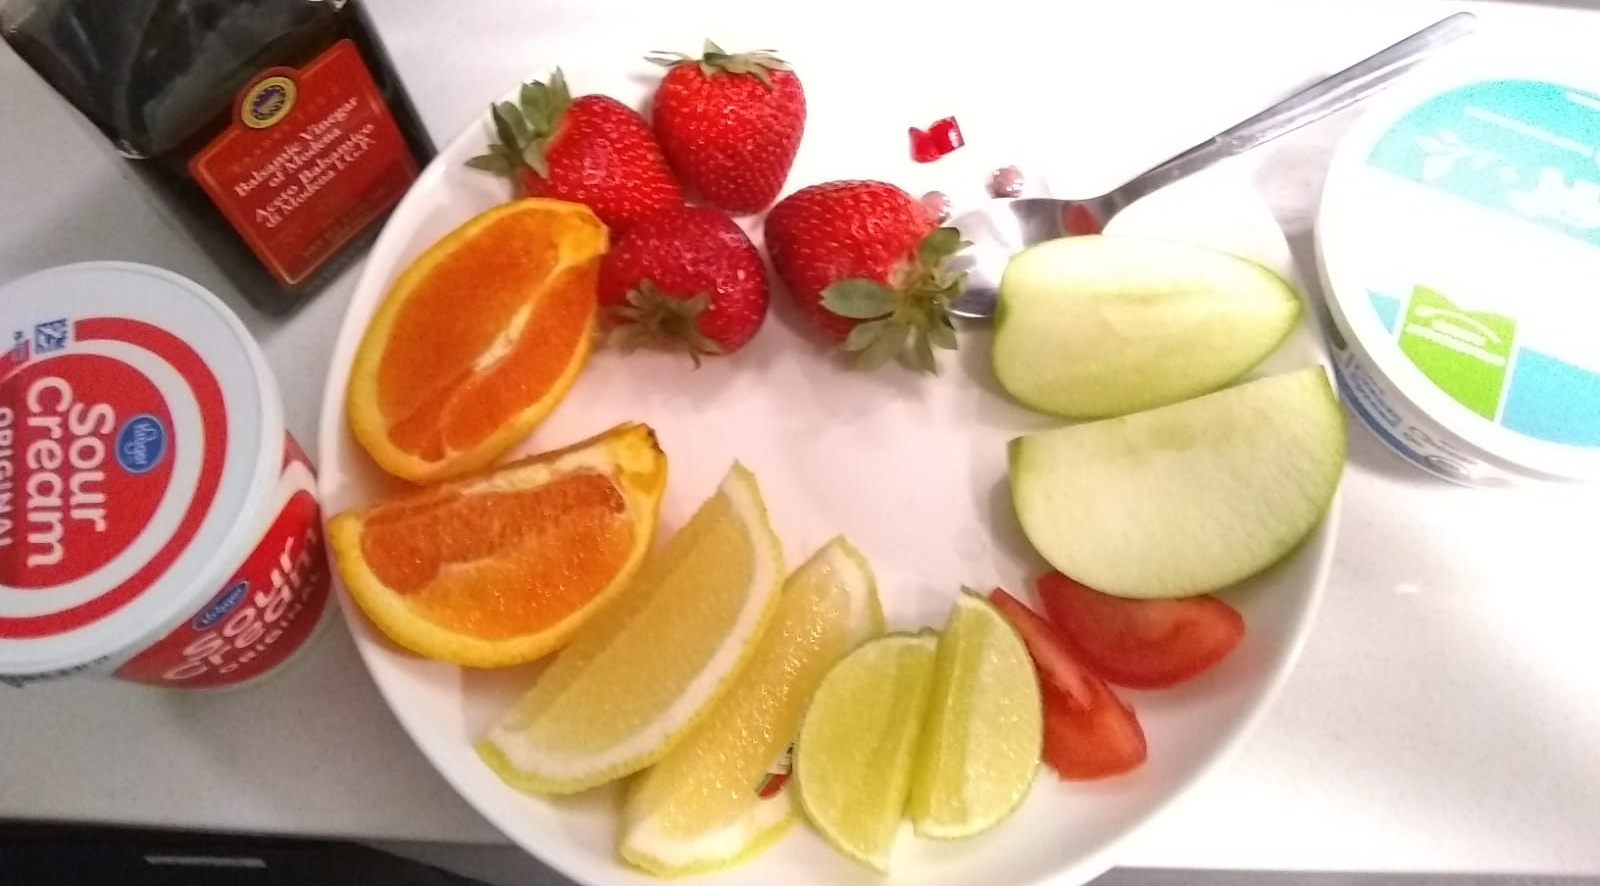
As promised, everything sour tasted sweet! Here’s an overview of what we tried:
Balsamic vinegar already has some sweetness to it, but with miraculin there was nothing sour to taste. Even though my mouth was still reacting to the acid, I could not taste it! On another occasion, I had also tasted white vinegar, which really burned my tongue even though it didn’t taste sour.
The citrus fruits all tasted like a very sweet orange! Almost unbearably sweet, to be honest. Lemon juice (the kind that comes in a bottle) tasted like a lemon candy: a little sour but with enough sweetness to easily take a shot.
The Granny Smith apple slices tasted like a non-Granny-Smith apple, as you might expect.
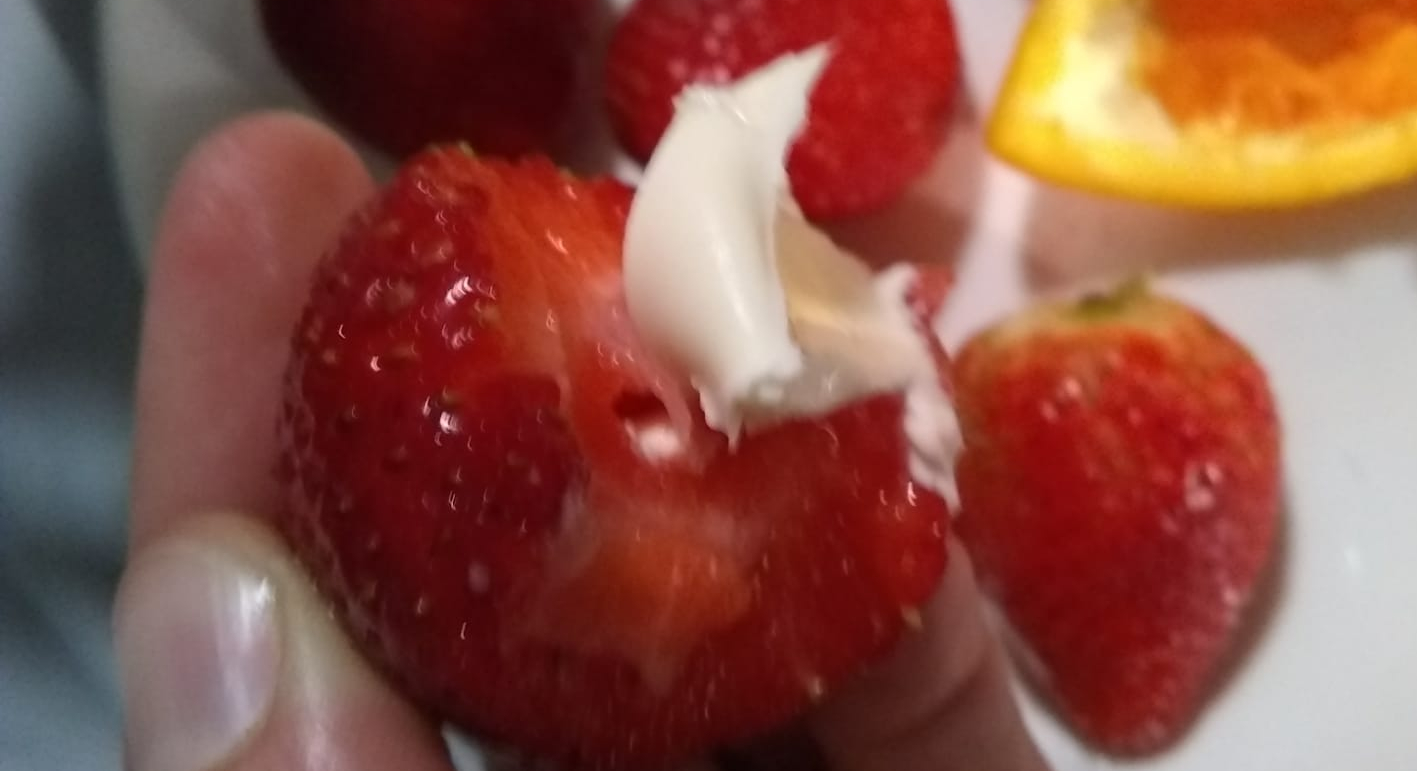
Strawberries tasted like you’ve put some extra sugar on them, which I can tell you is quite delicious. Even more delicious: a strawberry with some cream cheese. Instant strawberry cheesecake! And a strawberry with sour cream that tastes just like whipped cream? Yum!
100x better than what you can buy at the cheesecake factory.
The tomato wasn’t really that special.
A kiwi tasted like a golden kiwi, which already tastes softer and sweeter than a green kiwi. Makes total sense.
Bitter flavors are also changed. For example, tonic water tastes pretty much like Sprite. And grapefruit tastes sweet, though you can still “feel” the bitterness.
Finally, spicy things change in taste too. A nibble from a chili pepper made my mouth burn but without tasting the burn. Weird.
It was a very interesting experience, or flavor trip if you will. But as a fan of sour – I always eat the slice of lime or lemon in my drink – I prefer the world being a little less sweet.
Because you made it to the end, here’s a bonus: a stupid picture of me eating a very sweet-tasting lemon!
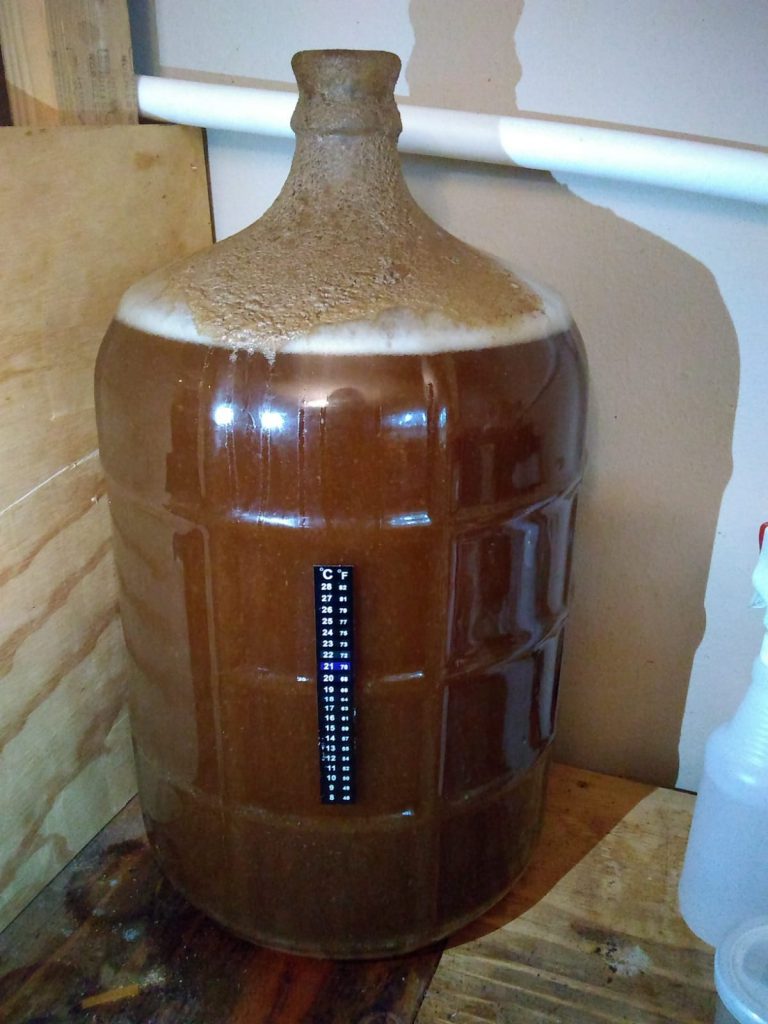
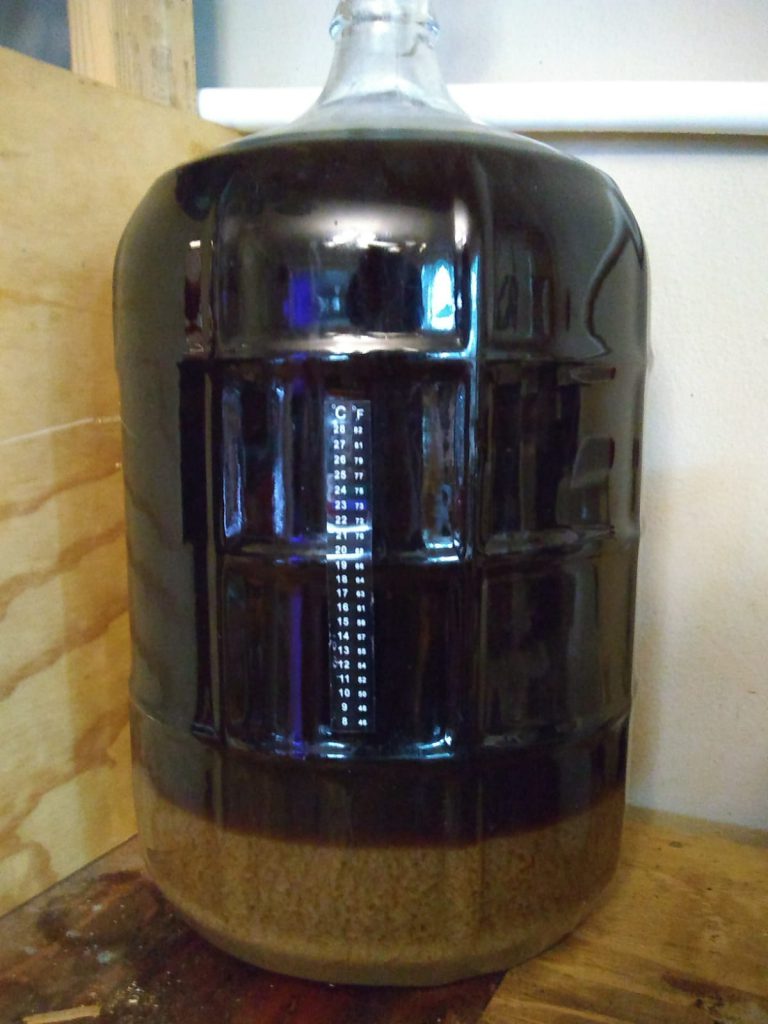
Our fermentation vessel has been sitting at room temperature (~ 20°C or 68F) for two weeks.
It’s time to move some things around. Or move some liquid into some bottles, to be more precise.
In the bottles, we want some final fermentation to happen. This won’t really add any alcohol, but CO2. Perfect to create a bubbly beer! But there is one problem: all the sugar we put in the wort has been eaten up by the yeast in the fermentor.
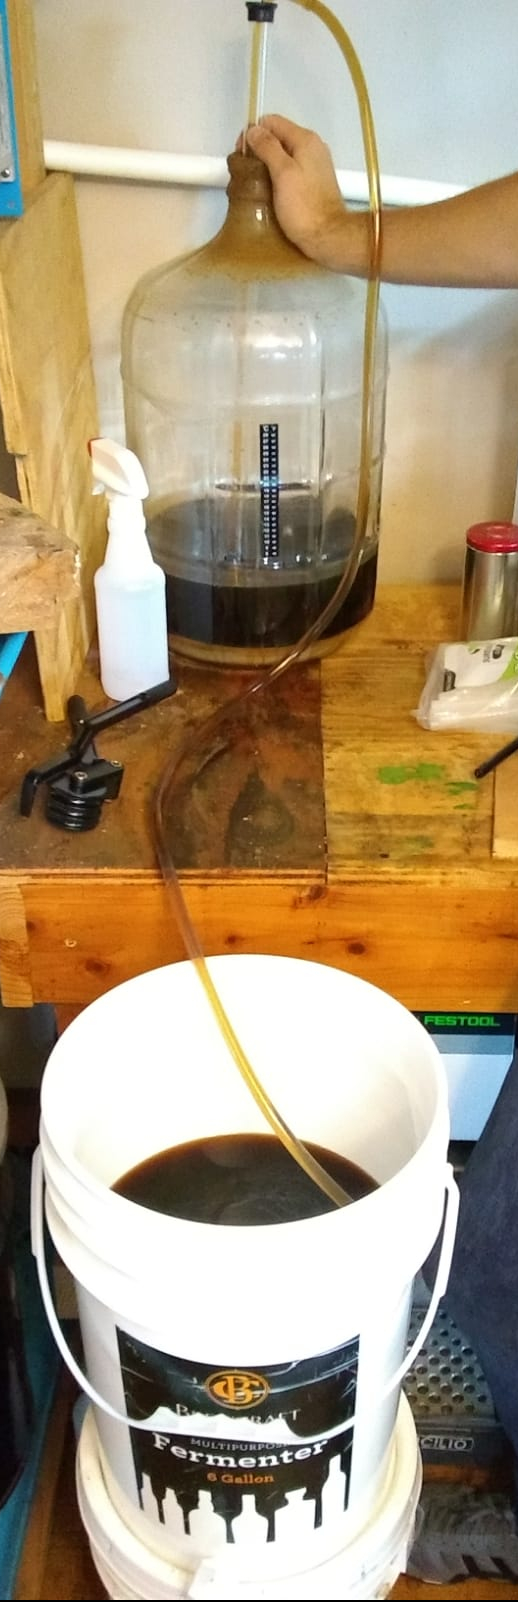
So we have to add just enough sugar for the yeasts to convert to CO2 gas, but not too much (we don’t want the bottles to explode). We made up a sugar-water solution by boiling 2 cups (473 mL) and dissolving 4 oz (113 g) of sugar, which we mixed into the fermented almost-beer. We also needed to move the almost-beer into our bottling bucket – carefully, as to not add too much oxygen or contaminants!
From bottle to bucket
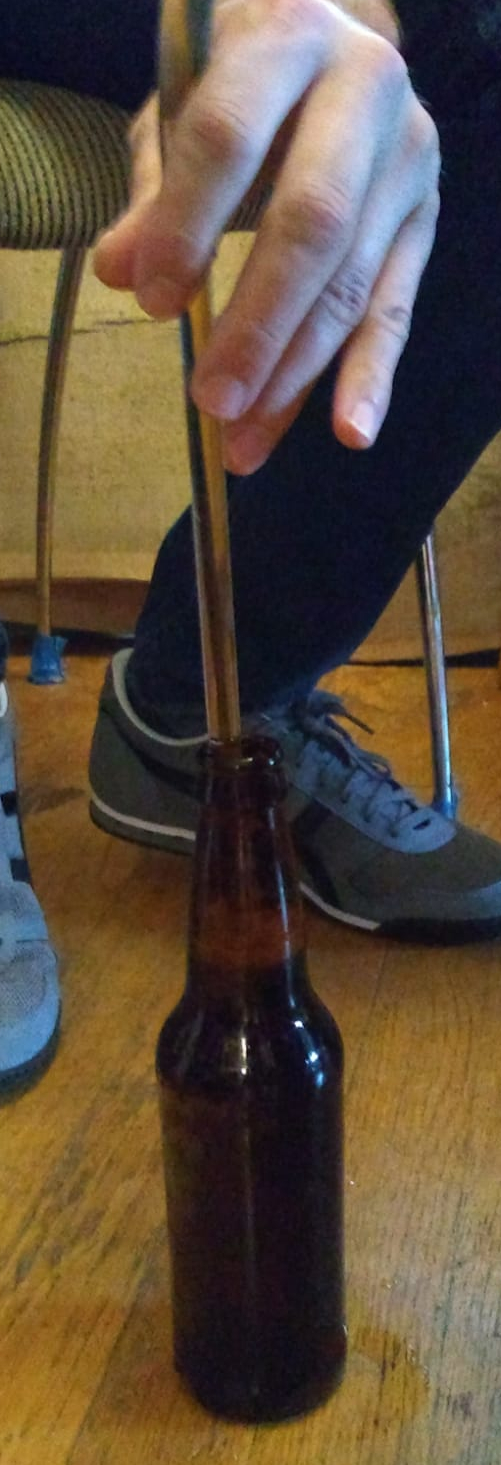
Next step was to set up a bottling assembly line. Part one: filling the bottles up, leaving about an inch (2.5 cm) at the top.
From bucket to bottle
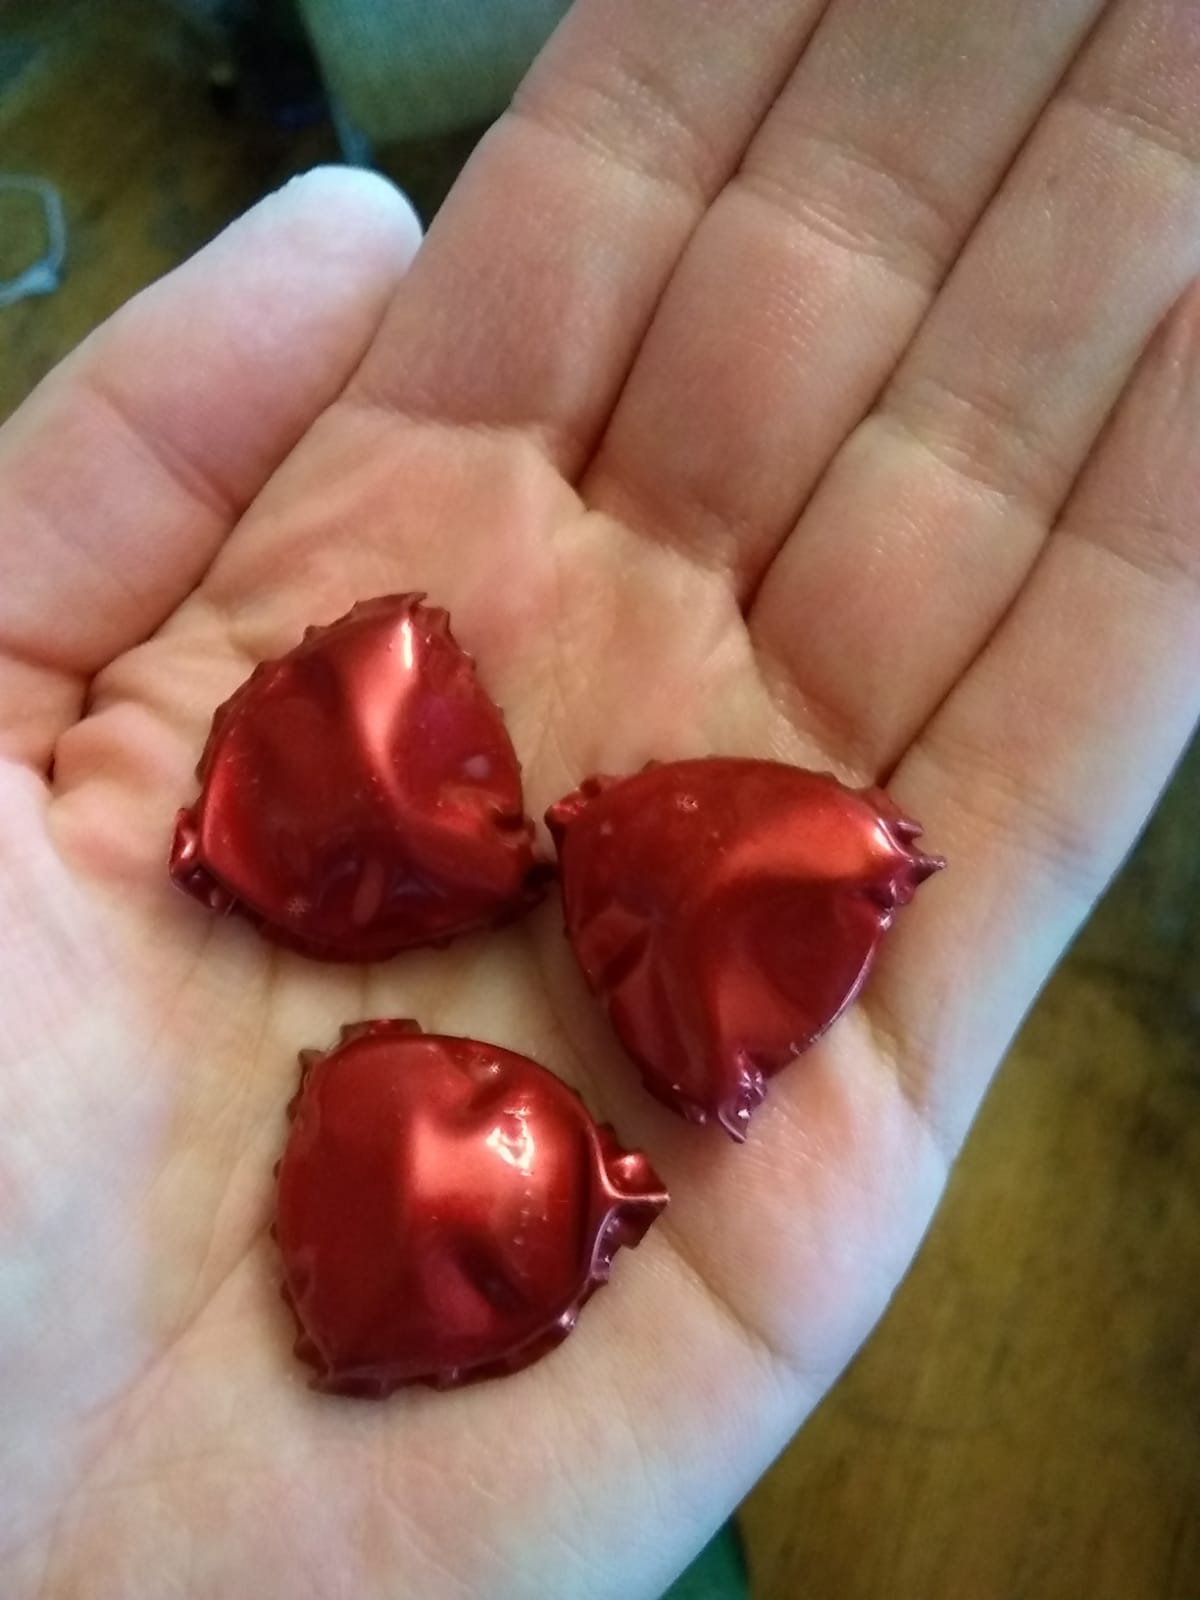
Part 2: capping the bottle.
Easy peasy, simple pimple
Okay, not that easy.
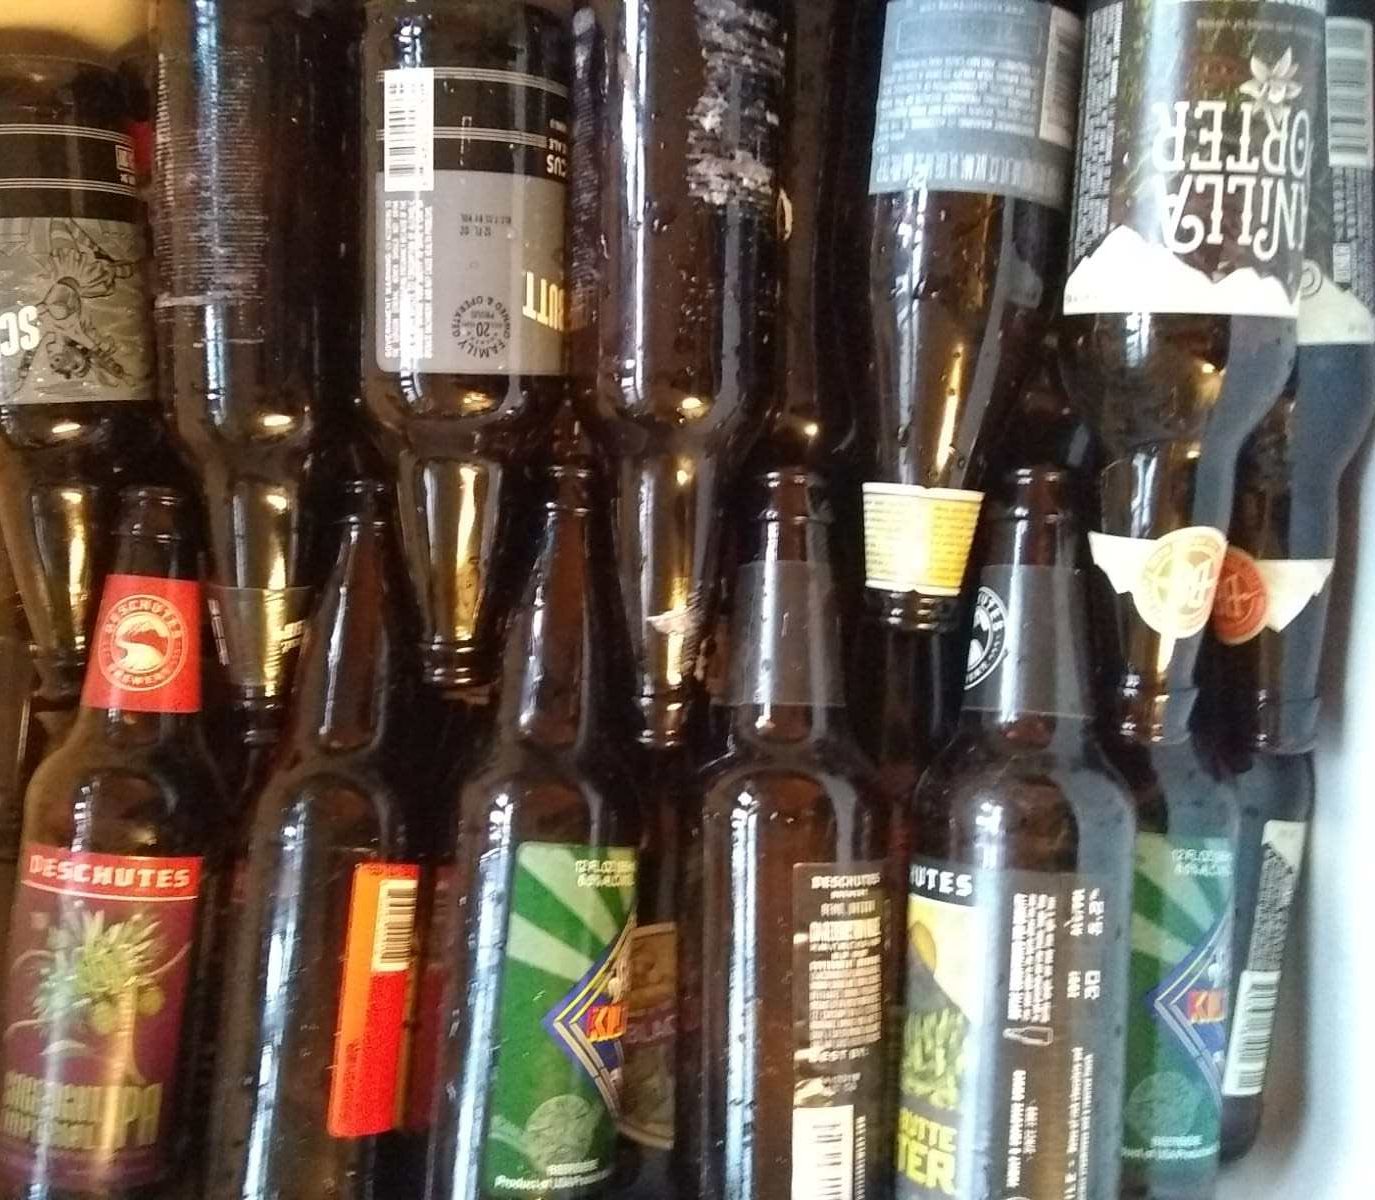
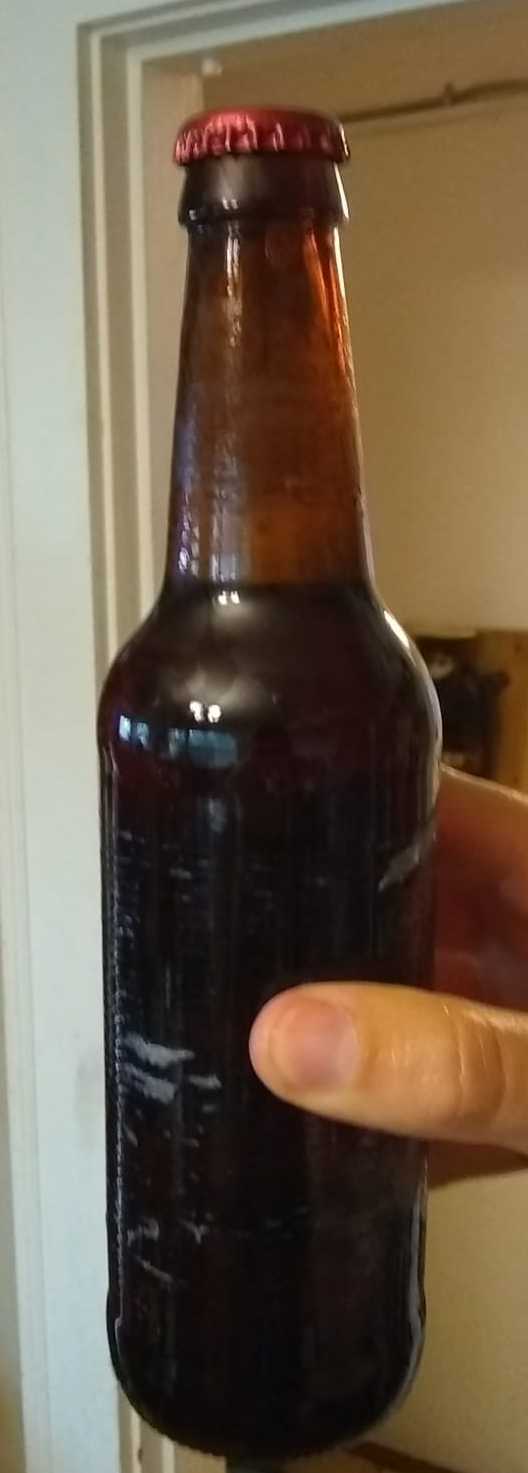
And there we are: a bottle of our very own, home-made beer!
BEER!
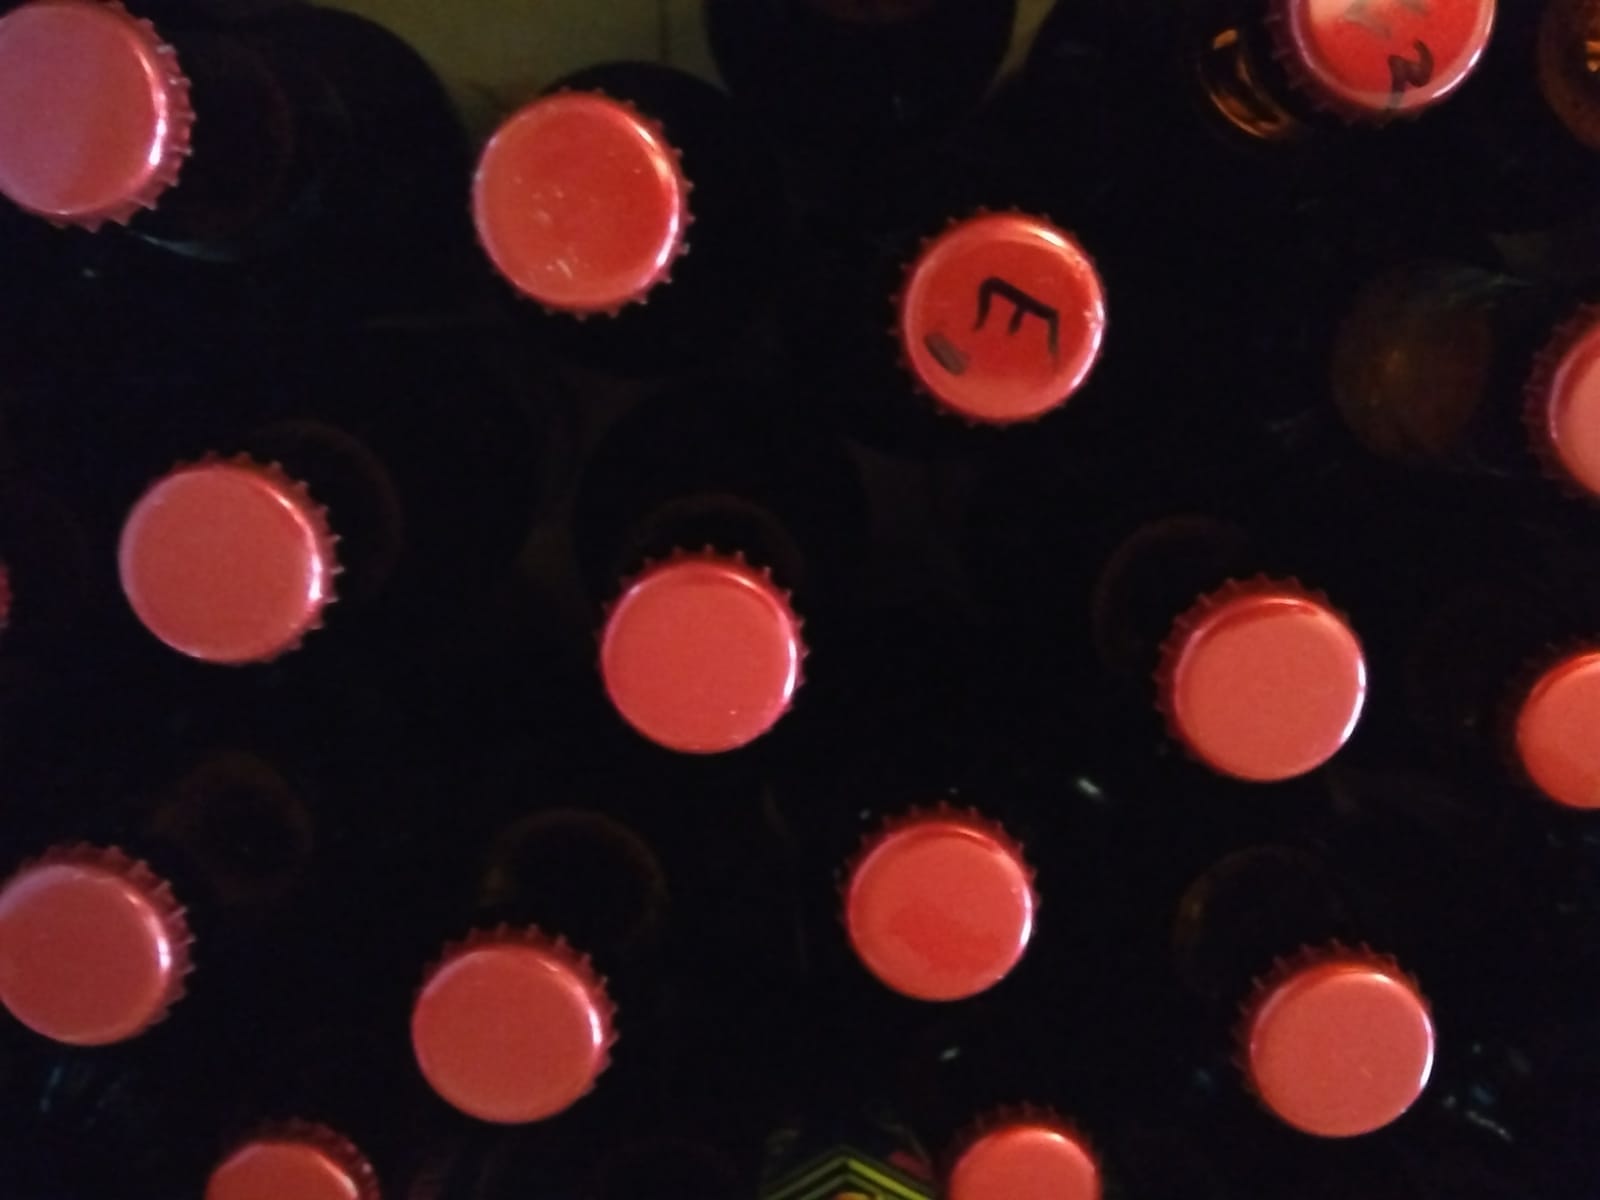
About 40 bottles, actually.
MORE BEER!
Okay, we’re not quite ready. We need to give the yeast another week or two for the final fermentation. After a quick taste of the almost-beer, I kind of hope those two weeks will change the taste (and the bubbliness) because for now, it tasted quite bland.
In addition, our special gravity measurement – which gives an indication of sugar content and can be used to estimate the alcohol content by comparing with the original value – wasn’t very promising. Our beer seems to be less than 3%.
But we’re not giving up hope yet! In two weeks, we’ll see what the final product is. I’ve also read that a few weeks of extra “ripening” can help with the taste as well. And we can always give brewing another go, keeping in mind what we’ve learned so far.
While we’re waiting for the yeast to do its thing, it may be useful to learn about what exactly fermentation is. Fermentation. You’ve heard it before, in the context of beer or kimchi or sourdough bread (or in a biochemistry class). But what does it mean? And why isn’t yogurt alcoholic?
Briefly, fermentation is a biochemical process where tiny organisms break down a complex molecule, such as starches or sugars, into a simpler molecule, an acid or an alcohol, while making some energy. This happens in an anaerobic environment – meaning it does not require oxygen. This contrary to aerobic processes, like what we humans do most of the time when we want to convert sugars into energy.*
Yeasts and bacteria are the two types of organisms that do this sugar breakdown. There are three different types of fermentation, depending on the end product.
In a lot of cooking, we use lactic acid fermentation. In this case, the yeast or bacteria convert starches or sugars into lactic acid. Think kimchi, sauerkraut or pickles, but also yogurt and sourdough bread.
To make alcohol, however, you want to be aiming for ethyl alcohol fermentation. The sugars get converted into ethanol (the alcohol part) and CO2 (the bubbly part). Bakers yeast is also an ethyl alcohol fermenter: there is no real ethanol left in your final bread, but the CO2 production is what helped your dough to rise.
Finally, there is acetic acid fermentation. In this type of fermentation, sugars from grains or fruit are converted into acids. This is what makes vinegar.
Certain microorganisms are better at certain types of fermentation. That is why it is very crucial that the wort does not get contaminated by outside yeasts or bacteria: you only want the alcohol-making types, not the acid-making types. Unless you want to make a sour, that is.
It is also why, to make a sourdough starter, you just leave some sugars (starches actually to be more precise, in the form of some flower in water) out on the counter. The bacteria and yeasts floating around in the air are the ones you want for lactic acid fermentation – and to start up a sourdough culture.
Controlling the rate of fermentation and end products is a balance between making sure you have the right microorganisms (not all yeasts like being in alcohol – let alone making alcohol), balancing the water and sugars (is there enough food?), controlling the temperature (we prefer certain temperature, so to microorganisms) and waiting the right amount of time. That’s why fermentation is a bit of a science and also a bit of cooking. Though science and cooking are actually very similar to start with.
So to recap, fermentation is a process where yeasts and bacteria convert starches and sugars into alcohol and/or acids, with some by-products. And yogurt isn’t alcoholic because the milk-loving bacteria are lactic acid fermenters, not alcohol fermenters.
Beer update: checking in one day later
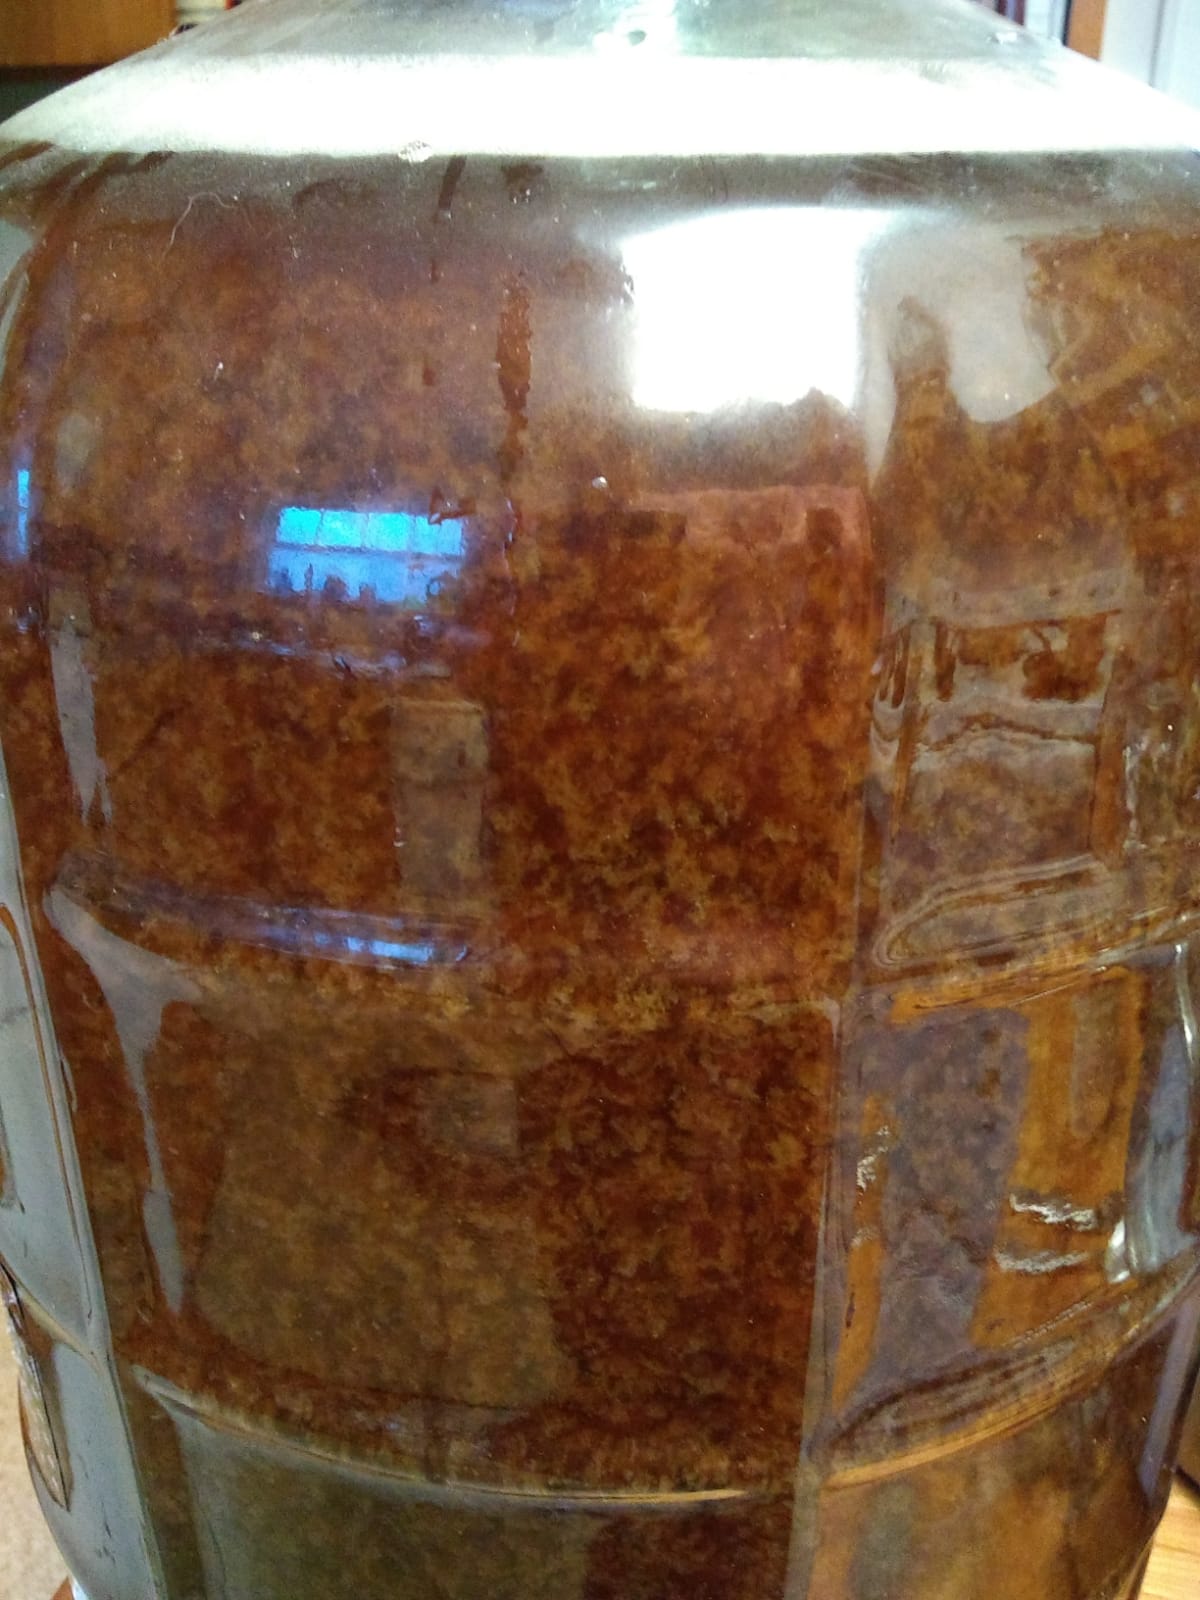
Disaster has struck. We left the fermenter for one day and came back to this mess:
Kind of gross and gunky
We had filled up the container too much, so once the yeast started munching away at the sugars, the extra build-up of foam caused the stop to come off. Oh no.
So we needed to clean up. We also siphoned out some of the liquid to avoid this from happening again. Hopefully, we did not expose the beer to external oxygen and yeasts and all during this process…
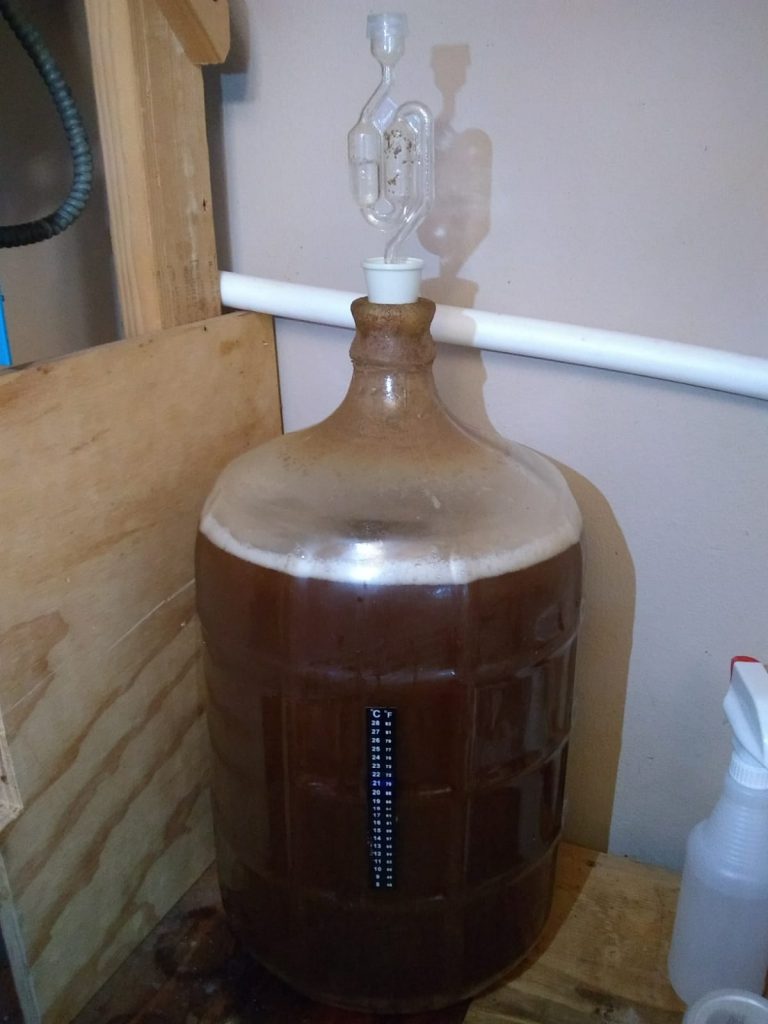
We put the S-stop back on the fermenter. This ensures that no gasses can come in, while gasses can go out. During fermentation, glucose (which is sugar) gets converted into alcohol and CO2. The latter is a gas and needs to go somewhere, so we let it go out.
All set up again, looking healthy
Bloop bloop bloop
This was last Monday. Since then, there seems to have been very little activity in the fermenter. The good news is that everything smells quite nice and beer-ferment-like, not sour, so we will move to STEP 7 sometime in the next few days: bottling!
*I say most of the time because when we get muscle cramps, this is because we’ve been working too hard without providing our cells with enough oxygen to do aerobic respiration (the oxygen-needing-kind). In that case, our cells go into anaerobic respiration, which is very similar to fermentation actually. The result of anaerobic respiration is lactic acid (hey – go back and read about how that’s one type of end product for fermentation!) and some quick energy for your cells to use in the form of ATP. Anaerobic respiration is less efficient than the aerobic kind, but it can get us some quick energy in a pinch.
Source for little factoid is that one episode of the Magic School Bus that I remember where Ms. Frizzle was doing a triathlon and her muscles started producing lactic acid so the students – who were obviously in a mini school bus inside Ms. Frizzle (where else?) – let out the air of the tires so her muscles would have oxygen.
Last weekend, we started brewing. Not ideas (though we have a ton of those), but beer. As this is a first for me, I decided to document the process so I can learn from the likely many mistakes we’ll very definitely be making. And learning some beer science along the way. There are worse things.
Step 1: The Prep
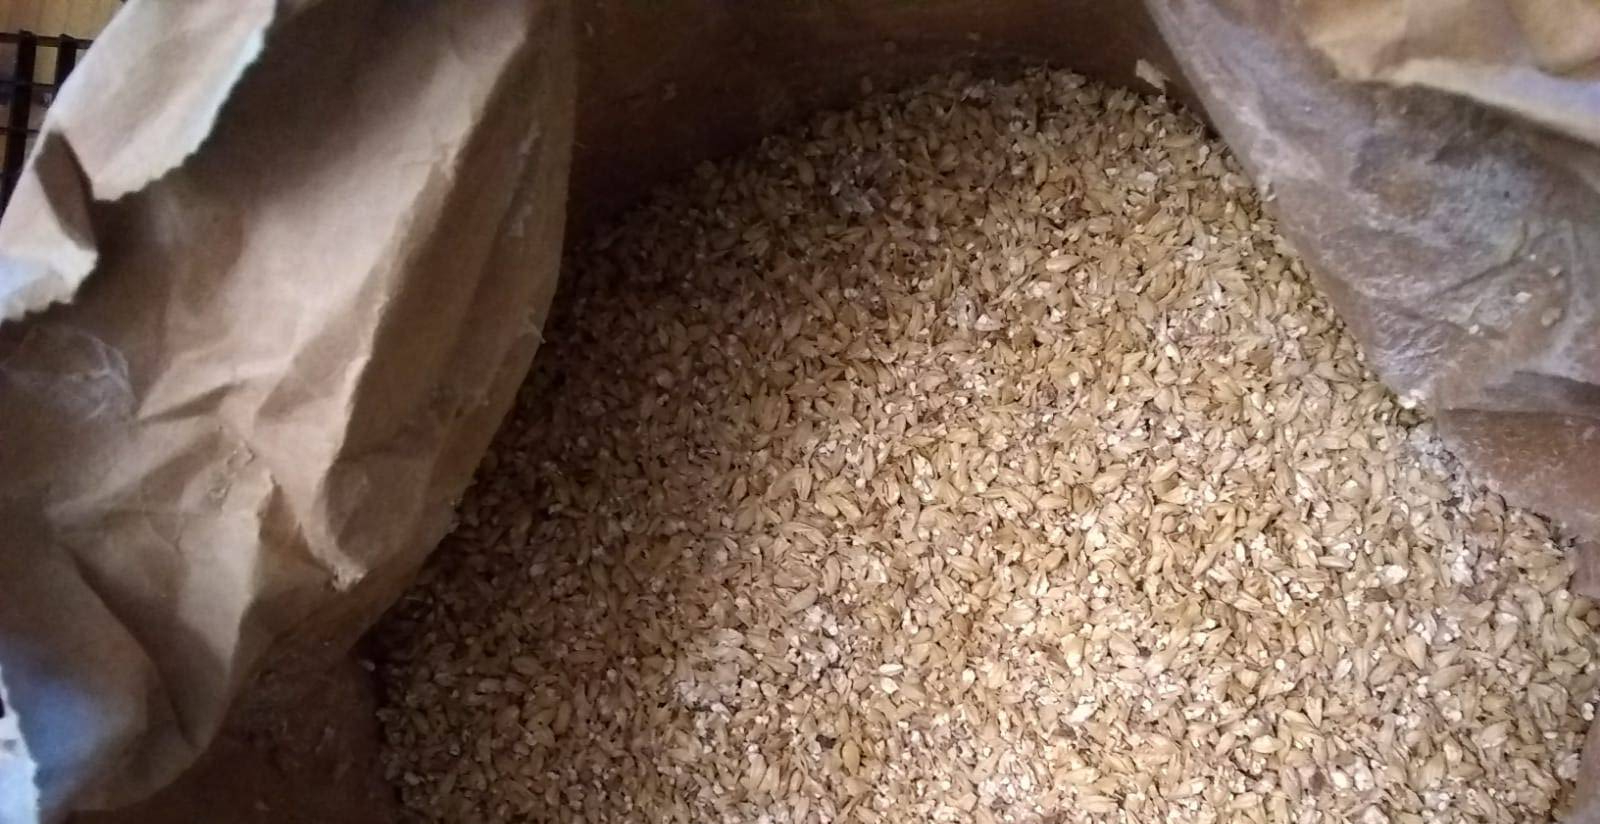
I cheated a little bit here… My brewing partner-in-crime had done most of the preparation beforehand – like buying the grains and all the kit for home-brewing. We biked out to a home brew shop to get the grain milled and buy the last bits of supply, most notably the yeast.
This makes me feel like Amélie – I want to put my hand in (but probably shouldn’t).
With our newly ground grain (apparently this is called grist and it smelled deliciously sweet), we biked back home and started cleaning everything. Beer is a product of fermentation: yeasts break down the sugars in the grain and turn them into alcohol. To get a good tasting beer, you want to make sure that only the beer-making-yeast is doing the fermenting and that all other types of yeast and bacteria are far, far away from your beer.
Hence, we cleaned and sanitized all the equipment. Thoroughly. And then again.
Step 2: Making the mash
Did you know that beer is basically just fermented grain-tea? Not that different from Kombucha tea actually – just not associated with a current health craze. The first step to making beer is soaking the grist in hot water to extract all the sugars that will be later fermented. This is called mashing.
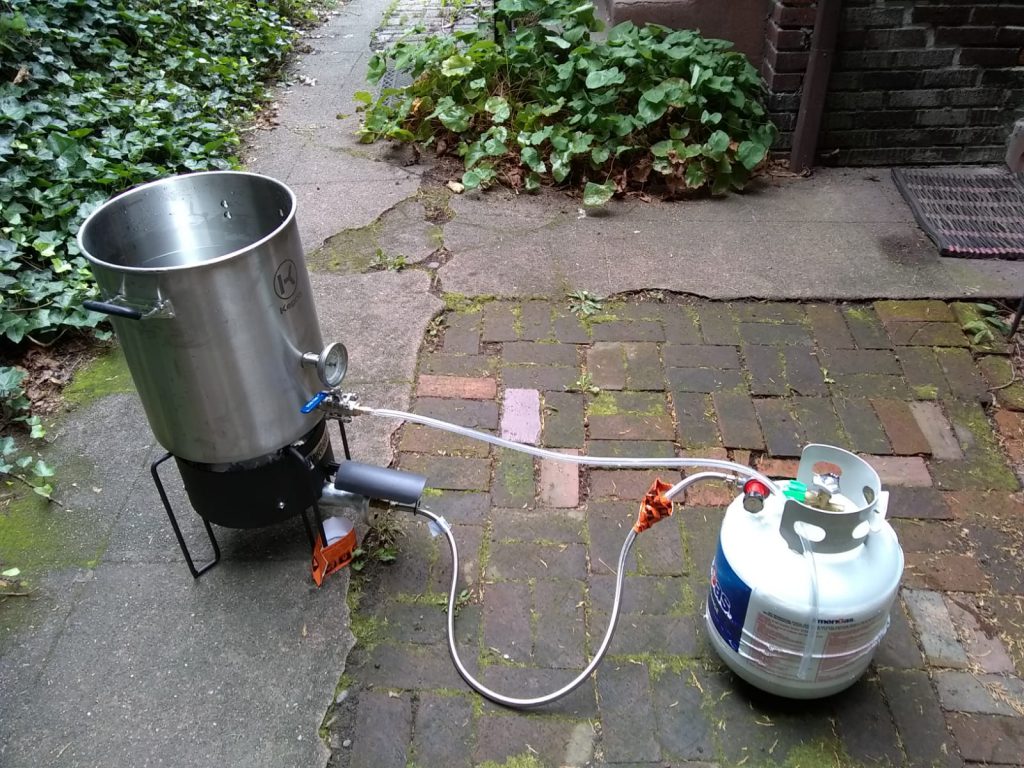
We set up the boiling pot outside, ready for curious onlookers to wonder what we were cooking up.
We’ve come a long way from smouldering cauldrons in witches’ lairs.
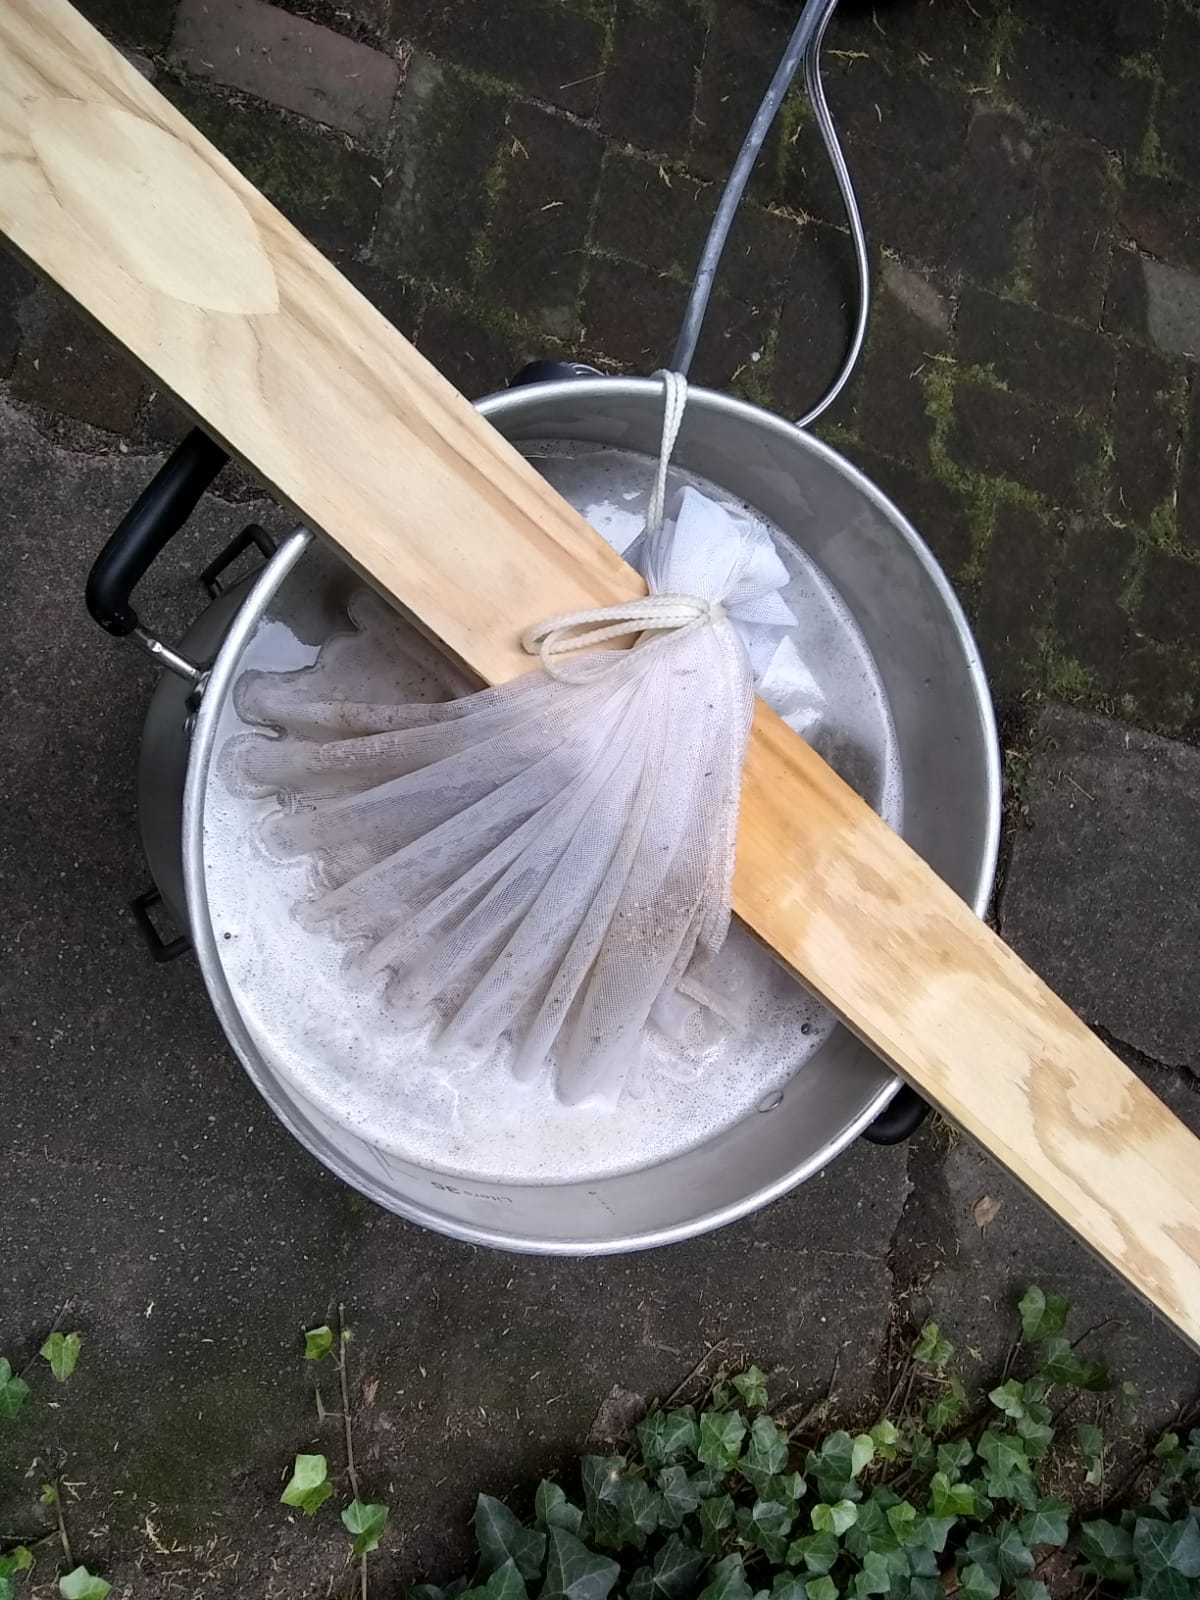
We filled the pot with about 30 L (7.3 gal) of water and heated it up to ~ 75°C (~ 170F). We didn’t want the water to boil, like with green tea, if the water is too hot you get a lot of bitter tastes and we want all the sweet sugars to seep out. In this pot, we then dunked a giant teabag filled with the grist (~ 4 kg/ 9.25 lb of the stuff).
Dunk dunk dunk
After an hour, our tea was ready. A little taste confirmed that we had made grain tea – more correctly known as wort. A little squeeze of the bag, and out it went. We added a little bit of brown sugar (170 g / 0.375 lb), just to make sure there’d be enough sweet stuff for the yeast to eat. [I initially wrote “yeat to yeat”. Help.]
We then measured the specific gravity of the wort. This would give us an indication of how much sugar (more sugar = higher specific gravity) we were starting out with, important to figure out how alcoholic the end result will be.
We were ready for the next step.
Step 3: Hopping the wort
On paper, beer is quite simple. You have water, grain, yeast, and hops. Mix them together in the right way, and you get beer!
The next step in our process was adding the hops – without a bit of a hoppy flavor, no beer! We heated up our water to a boil (> 100°C / 212 F) reused the tea-bag-thing, filled it with our first type of hop (12.5 g / 0.44 oz of Northern Brewer). After 45 minutes of simmering, we added the second type of hop (28 g or 1 oz of Fuggles – who names these things?) and Whirlfloc, which is a tablet containing Irish Moss and Kappa Carrageenan and makes sure your beer doesn’t get too hazy.
Boiling the frothy goodness
15 minutes more of boiling and we removed the bag, and got ready for cooling. A quick taste of the liquid proved that it already sort of tastes like beer. There’s some sweetness, some hoppiness, some bitterness but it’s also flat and lukewarm. British Ale much?
Step 4: Cooling
Yeast works best at a certain temperature. Too cold and the metabolism slows down, leading to less efficient sugar-to-alcohol conversion. Too hot and the yeast just sort of dies.
To cool the wort to a yeastly comfortable temperature of 25°C (or 77F), we put an immersion chiller into the pot. An immersion chiller is a coil of copper tubes, through which we ran cold water. It took a while (and I was making bagels in the meantime, to be honest, because brewing is a lot of waiting), but we made it. We then transferred the now cool wort – which needs to have as little contact with air as possible because like the good yeast, the bad stuff also really likes this temperature – to the fermentation container. I can tell you that it already smelled like a brewery in the kitchen – which totally makes sense because we were doing just that: brewing.
Let it flooooow….
Step 5: Adding the yeast
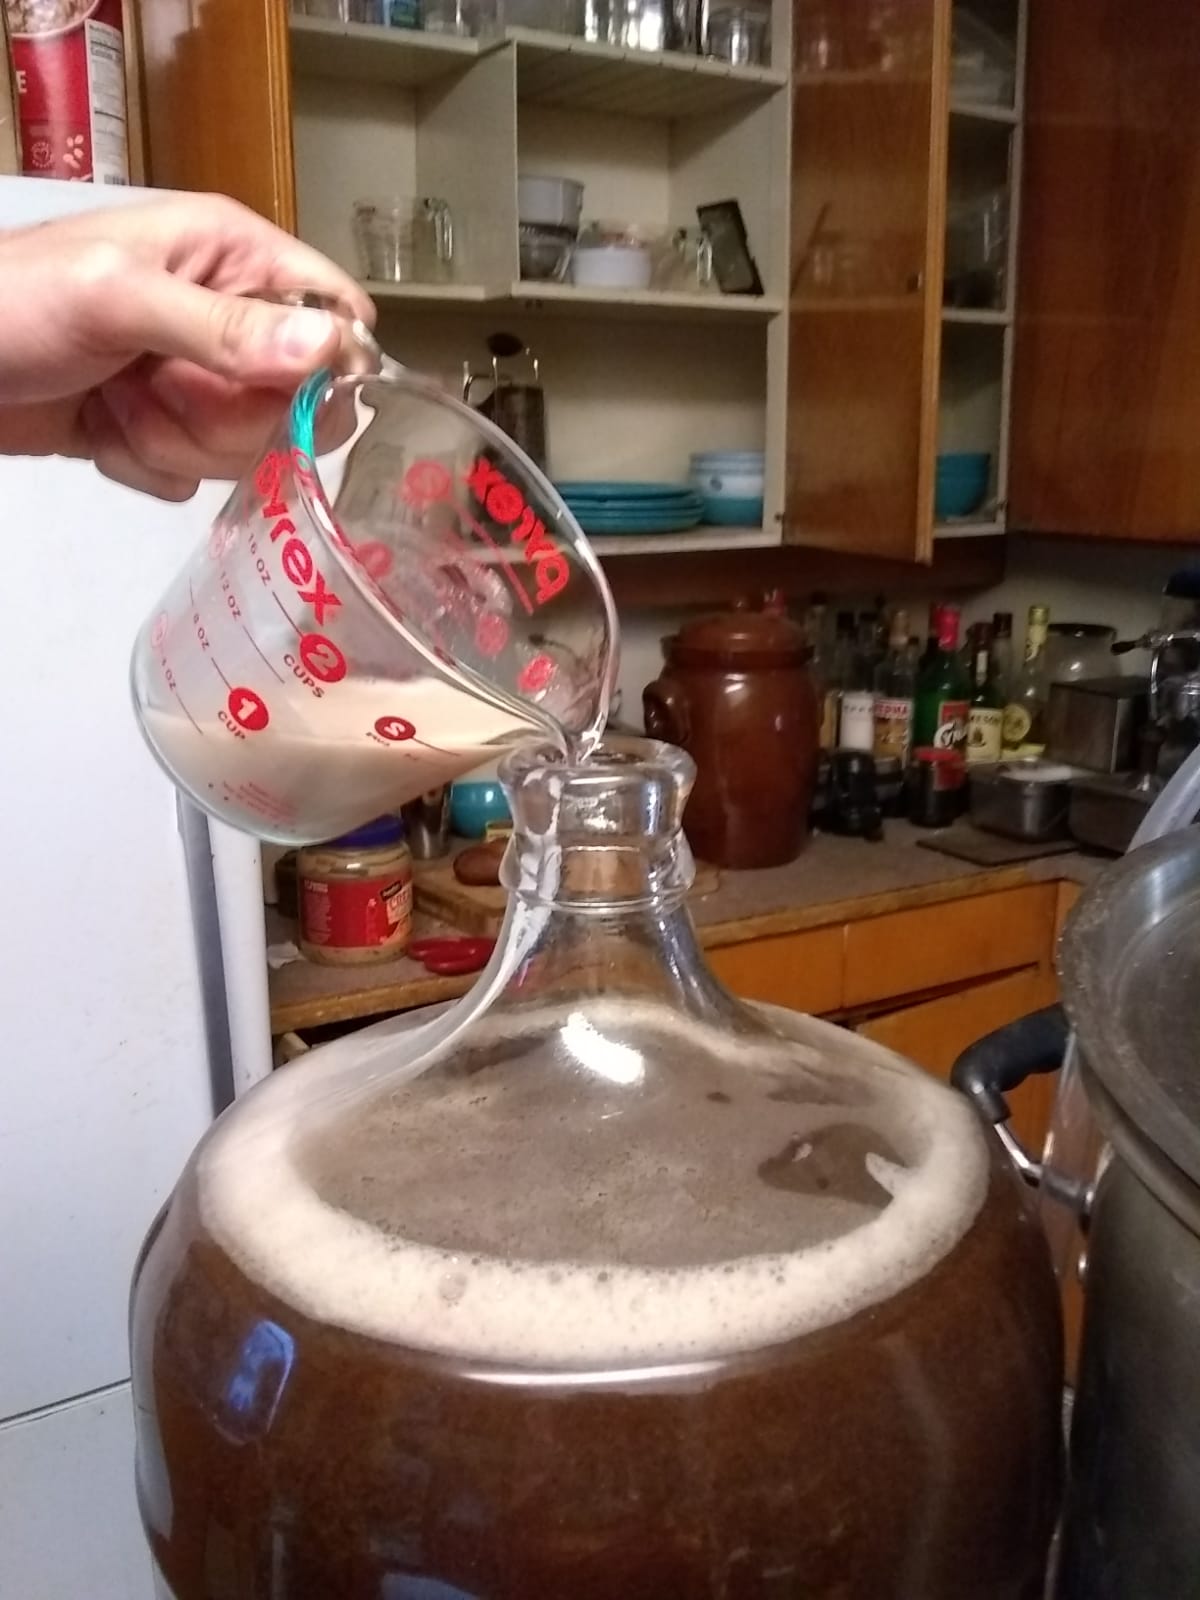
We had already prepped the yeast by adding it to some lukewarm water, now it was ready to be added to the wort. Which we evidently did.
Carefully pouring the yeast into the fermentation bottle – the final step to prep!
THIS LOOKS SO COOL!
Step 6: Now we wait
We’re trying to keep the fermentation vessel at a constant temperature and keep any extra oxygen out. But other than that, there is nothing to do but wait. Updates will come soon, likely to tell you how it all went wrong. Maybe not.
Yeast on the bottom of me, wort on the top; here I am, ready to brew…
Disclaimer: as with many things, I have no idea what I’m doing. This is not meant as an extensive guide to home brewing, but just as a general walk-through of my first attempt at brewing.